Migrating Components to a Content Block Template
This article will help you understand the basics of migrating your theme. Whether importing templates from an existing theme or creating a brand new one, you will need to understand how to build custom content blocks and use the basic functionalities of the theme builder.
Also, to follow this tutorial and before developing a new theme, you will need to understand the basics of the following subjects:
- Liquid themes
- Adding custom JS, CSS and Body Content
- HTML, CSS and Liquid basic knowledge
Step 1: Design Aspects
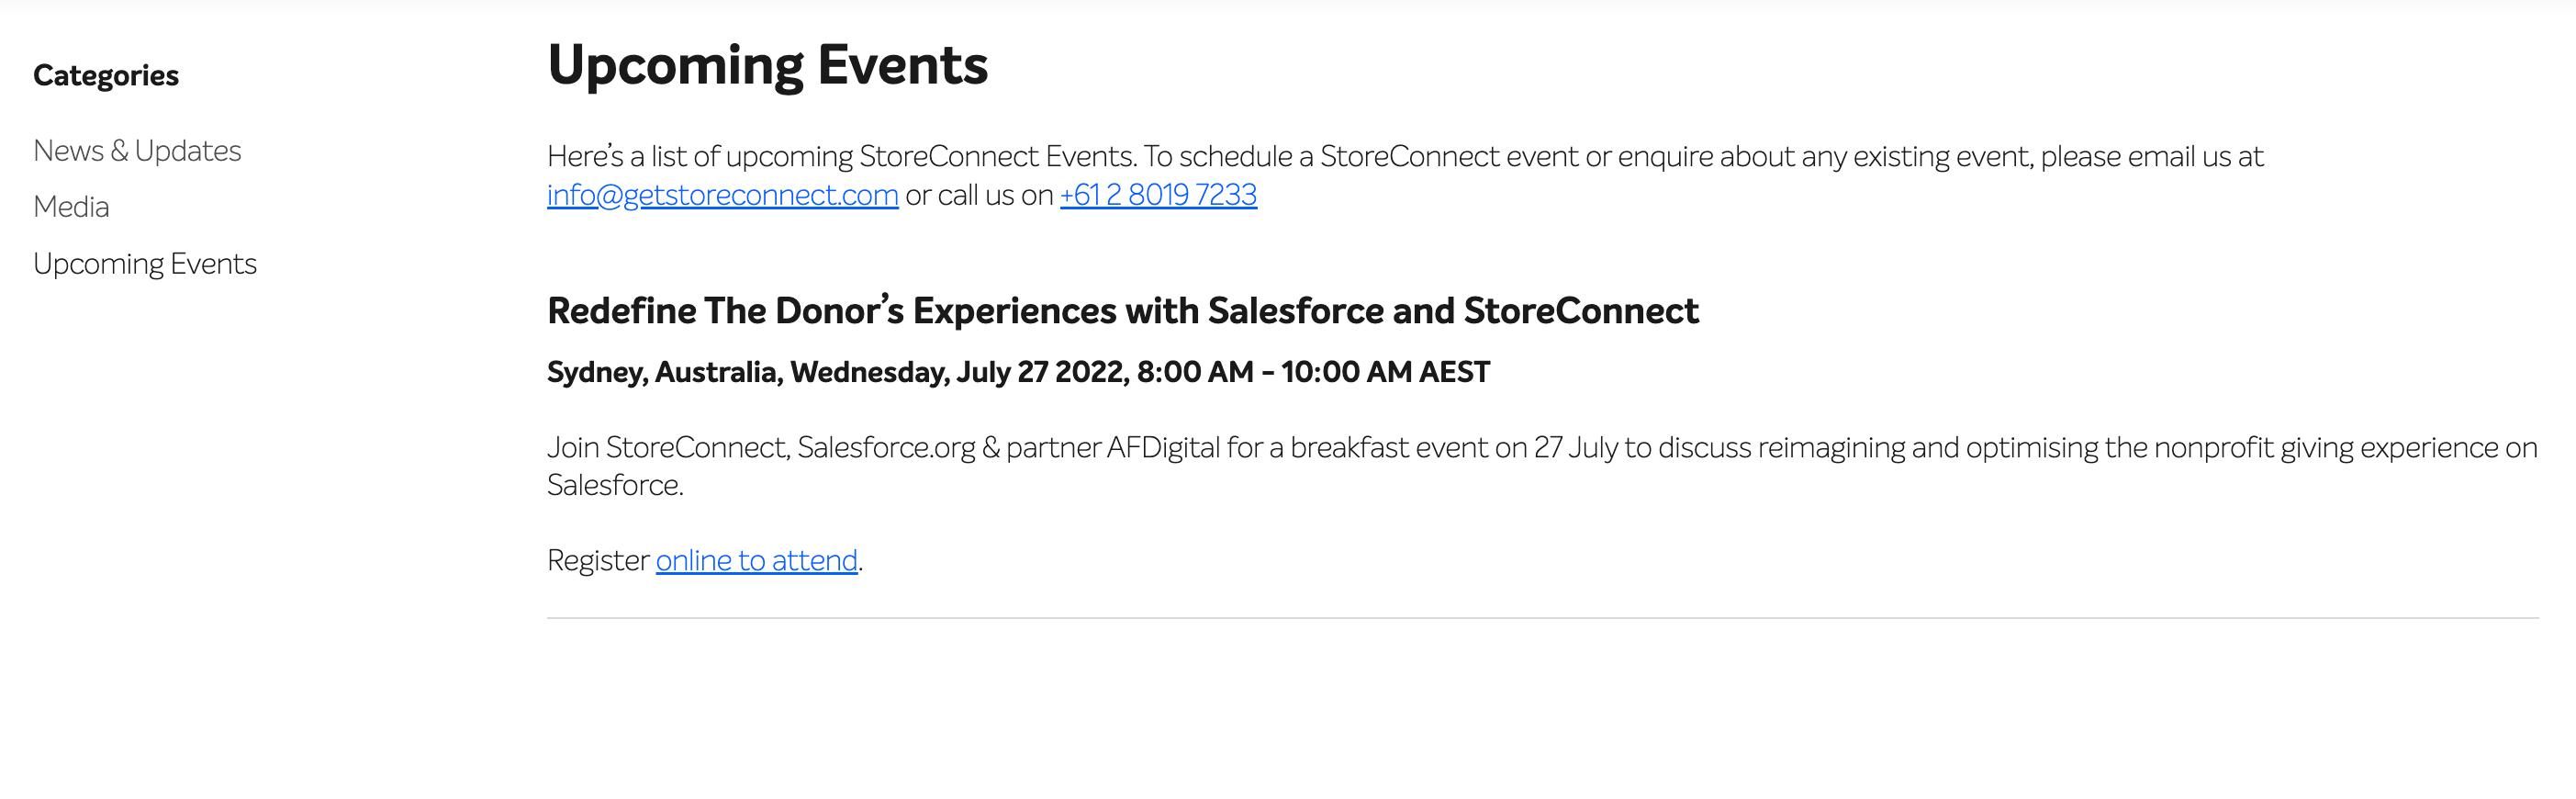
One of the easiest ways to learn how to migrate an existing theme or create a brand new theme is by creating a Content Block Template. For this tutorial, we have decided to build an event card template to display our information on upcoming webinars. It needs to contain a title, date, brief description and a call to action button.
This is what we have currently:
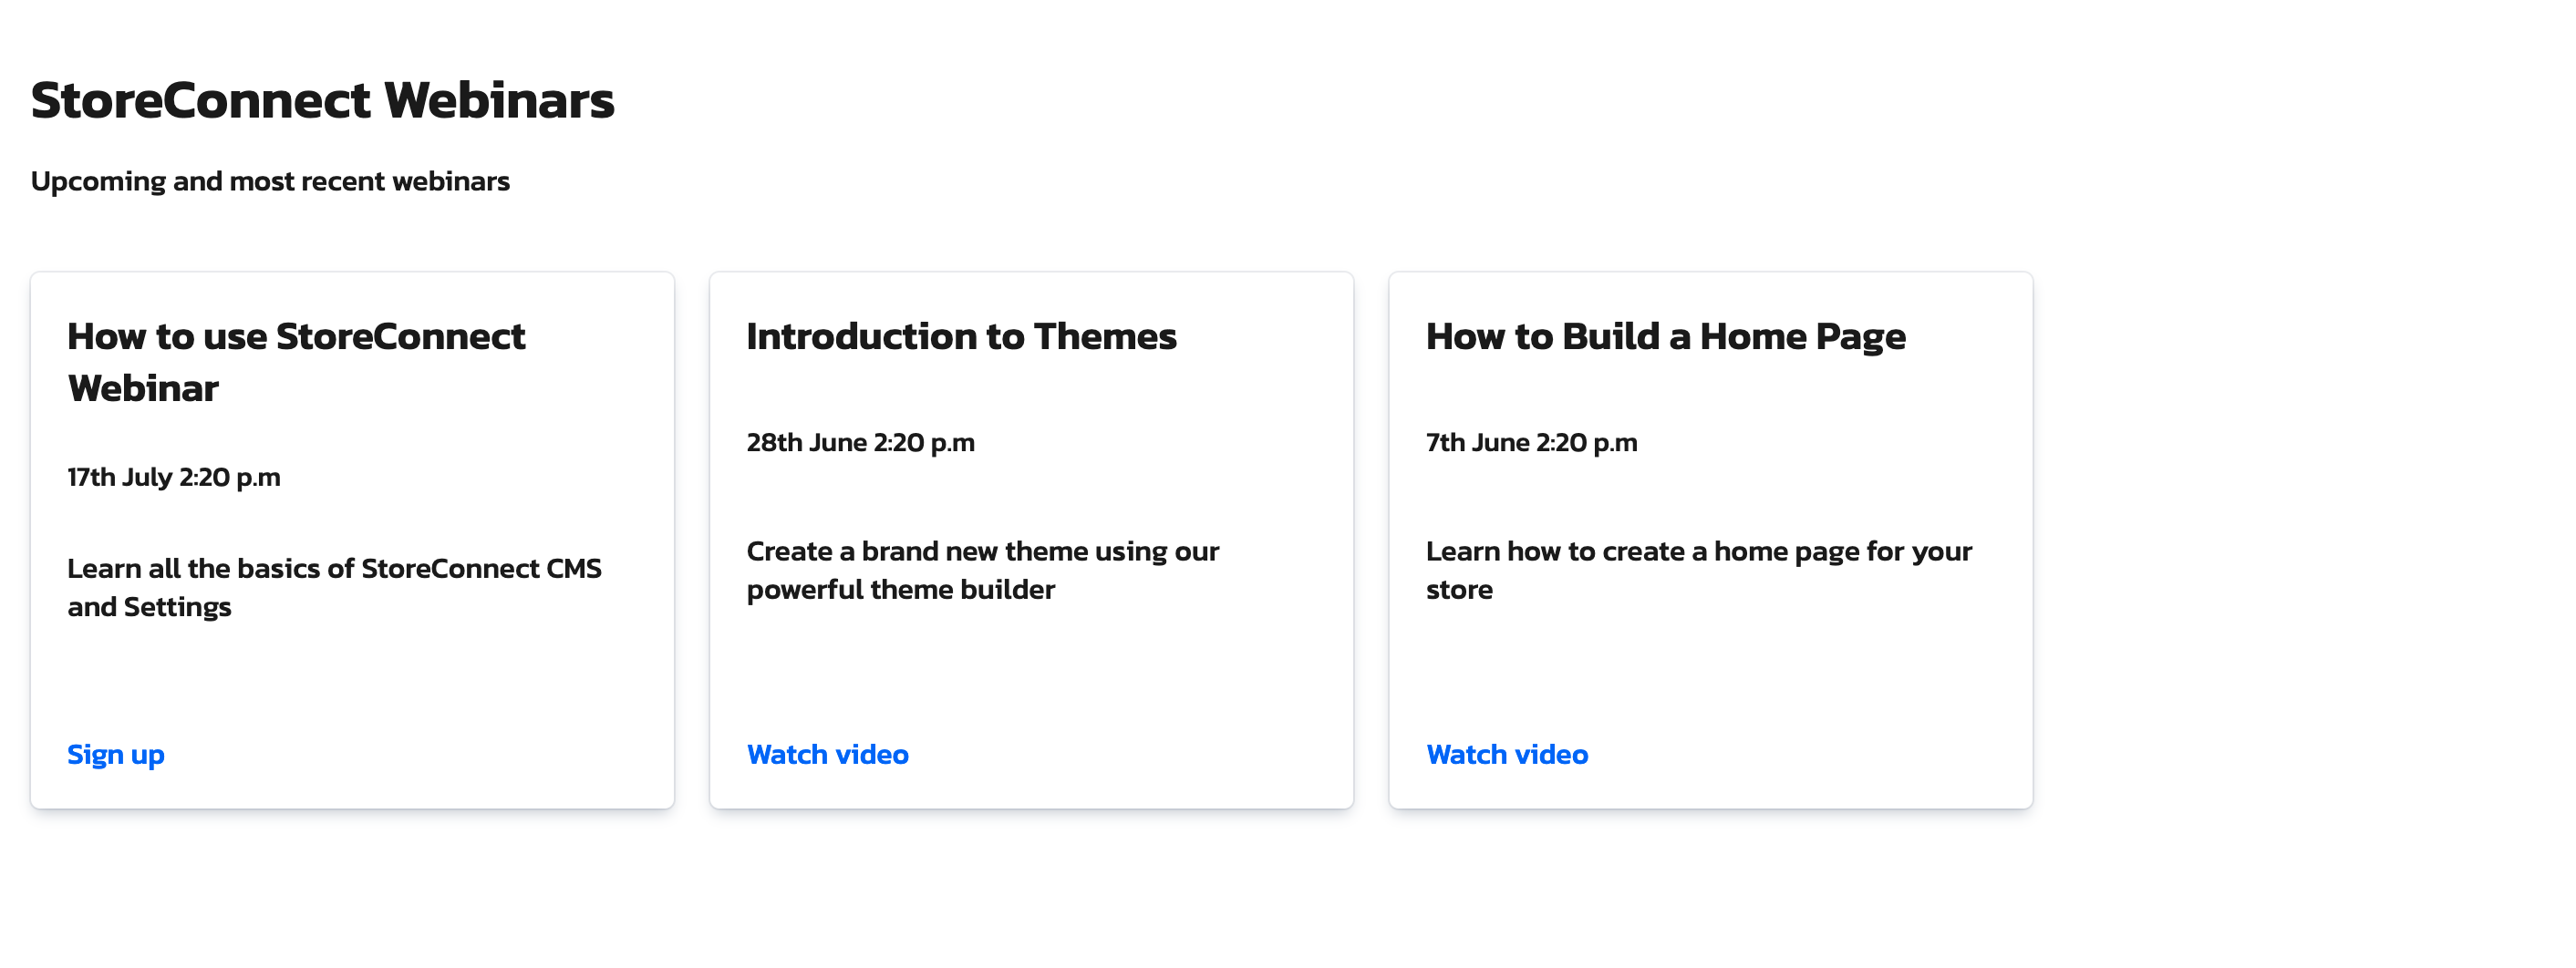
We will migrate this component into event cards like this:
You may want to build something different, like a banner or a featured products card, and as this tutorial will show you the basics, you can try and build your own template as you follow along.
Although they can have different designs, your design will likely contain HTML, CSS and liquid to render your data. Sometimes, you will need to use custom JS too. So the purpose of this tutorial is to teach you some basics of theme templates so you can then replicate the steps on your own content blocks.
Step 2: Create a Theme Record
Themes provide the functionality to help you organise your assets and templates. Your theme record can hold multiple types of templates as well as assets like icons and CSS libraries.
There is also a Preview feature that allows you to view how your site will look using your new theme without affecting your live site. This is handy when developing new themes or customising your store, so you can preview your changes before publishing them.
Please read the Theme Builder Reference to familiarise yourself with its capabilities.
- From the Themes tab, click the ‘New’ button
- Give your theme a name
- Click ‘Save’
Step 3: Creating a new Template
To save time, Theme Builder allows you to create one template that will show dynamic data that you will be introducing whenever you create a new content block.
Let’s say you want to make weekly posts of your upcoming webinars and keep an updated page with all your upcoming events. For this, we will build an event card template.
Instructions:
- From your theme record’s related list, find Theme Templates
- Click the ‘New’ button
- Create a key name for this template. For content block templates, the key name must always start with blocks/. We will name this key blocks/event_card
- Click on the Save button
You need to add your custom template to the Content Template picklist so users can use your template when creating new content blocks.
Step 4: Creating the HTML markup
We now have the basic setup to build our template with dynamic data.
If you’re migrating a component from an existing theme using WordPress, Shopify, or any other platform, use your browser inspector tool to copy the HTML of that component. Another way to do it is to dig into your theme files and look at the HTML of that component. Another option is to create the component from scratch.
I have my current site on an existing e-commerce platform, so I have used my browsers inspector tool and copied-pasted the following HTML markup into my new template’s Content field.
<div class="event-card">
  <div class="event-card_heading">
    <h3>StoreConnect Webinar</h3>
  </div>
  <div class="event-card_date">
    <span>20 Jun 2022, 5:00 p.m. Online</span>
  </div>
  <div class="event-card_body">
     <p>Learn all the basic of StoreConnect,
     create outstanding themes with our theme builder.</p>
  </div>
  <div class="event-card_action">
     <a href="/webinar" class="event-card_btn">Enrol now</a>
  </div>
</div>
Step 5: Replacing Static Text with Liquid Code
You will want a content block template that allows users to populate it with data from the content block record. We will use liquid objects to access the content block fields.
StoreConnect provides a list of objects that work as placeholders which get replaced with dynamic data to create a better user experience. We will keep this simple, but you can create more complex code for different use cases.
We are going to use the following fields from the content block record:
- Title
- Subtitle
- Label and link target
- Content
In the following markup, we use the liquid reference to replace the hard-coded HTML with dynamic liquid objects so users can create or edit content blocks without needing to know or use any code.
<div class="event-card">
  <div class="event-card_heading">
    <h3>{{ content_block.title }}</h3>
  </div>
  <div class="event-card_date">
    <span>{{ content_block.subtitle }}</span>
  </div>
  <div class="event-card_body">
    {{ content_block.content }}
  </div>
  <div class="event-card_action">
    <a href="{{ content_block.link_target }}" class="event-card_btn">
      {{ content_block.link_label | escape }}
    </a>
  </div>
</div>
The HTML above contains the simplest way to render all the content blocks liquid objects. However, I recommend you add some logic or conditionals, so you only render and display the object that contains actual data.
<div class="event-card">

  {% unless content_block.title == blank %}
  <div class="event-card_heading">
    <h3>{{ content_block.title }}</h3>
  </div>
  {% endunless %}

  {% unless content_block.subtitle == blank %}
  <div class="event-card_date">
    <span>{{ content_block.subtitle }}</span>
  </div>
  {% endunless %}

  {% unless content_block.content == blank %}
  <div class="event-card_body">
    {{ content_block.summary_content }}
  </div>
  {% endunless %}

  {% unless content_block.link_label == blank and content_block.link_target == blank %}
  <div class="event-card_action">
    <a href="{{ content_block.link_target }}" class="event-card_btn">
      {{ content_block.link_label | escape }}
    </a>
  </div>
  {% endunless %}

</div>
Step 6: Adding CSS
Once you have your CSS worked out and are happy with it, you will save it as a CSS file and upload it as an asset to your theme.
While playing around with your CSS, you can do this from the store’s Custom Styles field. This is easier than having to upload a new file every time you make a change.
.event-card {
  border-radius: 5px;
  box-shadow: rgba(9, 30, 66, 0.25) 0px 4px 8px -2px, rgba(9, 30, 66, 0.08) 0px 0px 0px 1px;
  -webkit-box-shadow: rgba(9, 30, 66, 0.25) 0px 4px 8px -2px, rgba(9, 30, 66, 0.08) 0px 0px 0px 1px;
  font-family: 'Kanit', sans-serif;
  display: flex;
  flex-direction: column;
  gap: 20px;
  justify-content: space-between;
  min-height: 150px;
  padding: 20px;
}
.event-card_heading h3 {
  font-size: 22px;
}
.event-card_date {
  font-size: 15px;
  margin-top: -5px;
  margin-bottom: 10px;
}
.event-card_action {
  margin-top: 20px;
}
Step 7: Using your template
We have created a test page for this step, but you can test it or use it on any page you like. First, you will need to create a container with the layout of your preference; I have created one using the Full width on smaller screens and three columns on larger screens and attached it to the test page.
Assuming you have done those previous steps, then follow these instructions:
- Go to your container and find the related tab
- Click on the New button within the Child Content Blocks tab
- On the new window, click on the search icon
- Find New Content Block and click on it
- Select the event card template you have created in the previous steps
- Fill up the fields and remember that we will be using:
- Title
- Subtitle (to display time and day)
- Summary (to show a brief description of the event)
- Link label and target (in case you want a call to action button)
- You can create two more cards repeating steps 2 - 6
Selecting “full width on smaller screens and three columns on larger” layout will distribute your cards as follows:
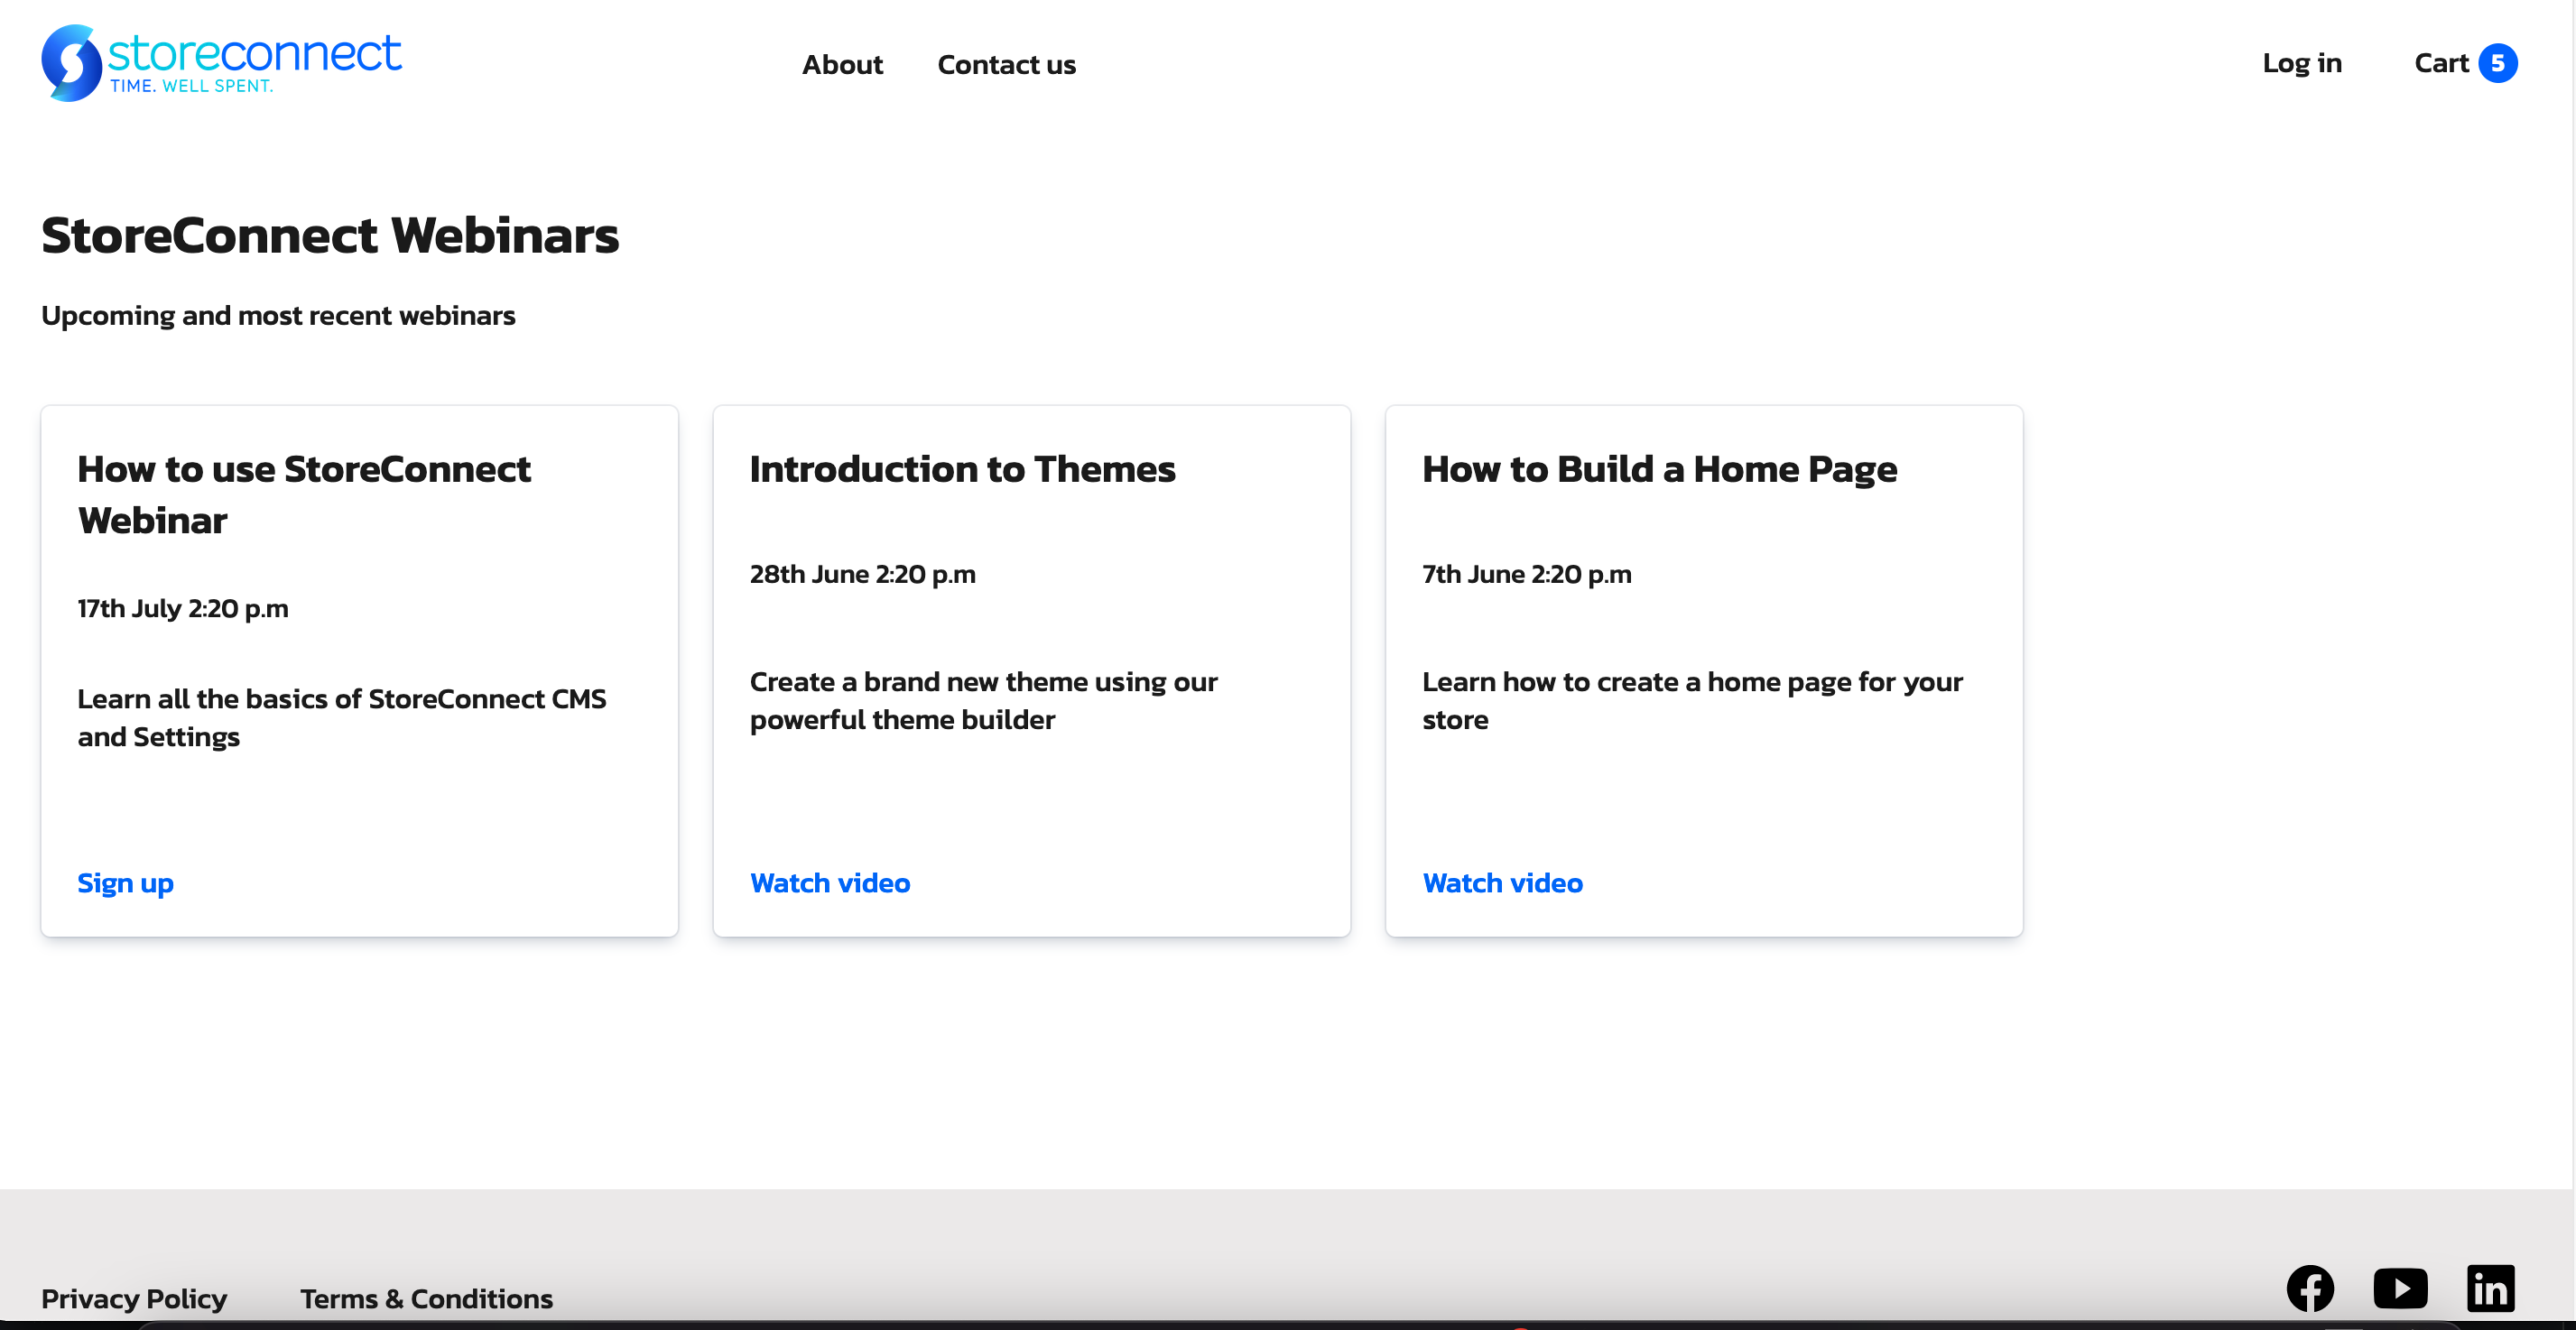
Overview
The preview above is our final result, but it could be different on your end depending on how you configured yours.
A few things to consider. You can reutilise your templates and give them different uses. You can showcase a service or product or whatever suits your needs.
If your cards are not displaying, always check your liquid code and use the liquid reference to check if you are using the correct liquid object. Also, check if your content block is correctly assigned to the page you are working with.
Test your CSS using the custom styles field, and when you have finalised your development, you can upload it to the theme assets. This way, it will avoid you uploading new CSS files every time you make a change.
As a piece of final advice, don’t hesitate to contact our support team. They are always happy to help and provide any guidance you may need.
support@getstoreconnect.com