
Get eCommerce up and running in an afternoon within Salesforce
Being a whizbang System Admin for all things Salesforce, your boss has approached you with the idea of getting your new Health Check service up on the web for new and existing clients to see and buy and of course make sure that all the orders placed end up in Salesforce.
Why not completely surprise the boss by having an eCommerce solution up and running with your new product, with a working checkout before tomorrow’s team meeting, and of course have this all fully integrated with Salesforce. Don’t think this is possible? Have a look at what you can achieve in an afternoon with StoreConnect.
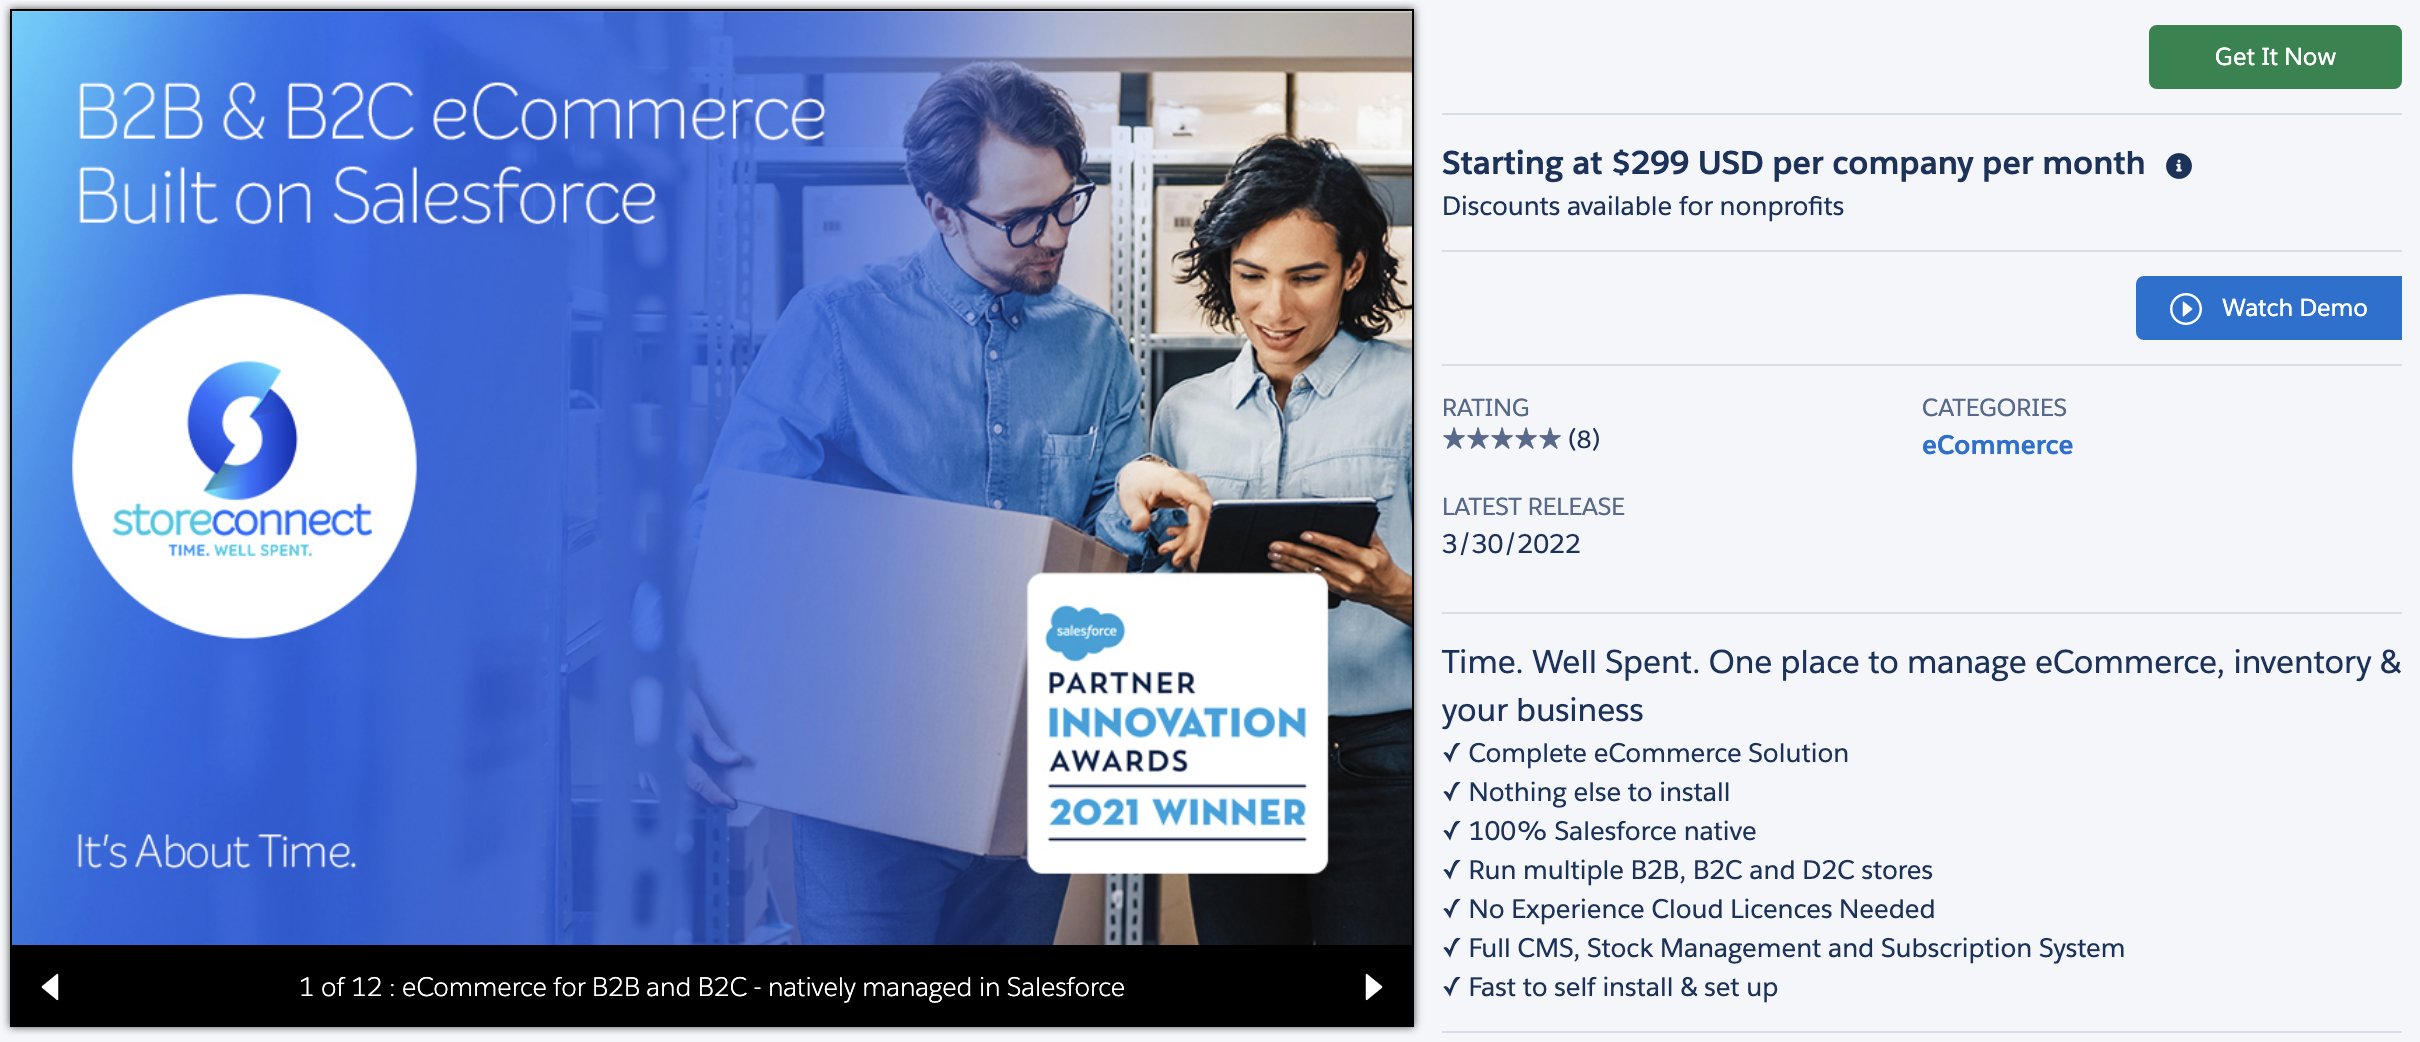
For the uninitiated, StoreConnect is an AppExchange Managed Package that you can install into your Salesforce org that provides a complete solution to create, host and manage a highly scalable website and eCommerce solution. It requires no other system (like Wordpress or Shopify or Communities) to get up and running and you can install it with a site live and working all within an afternoon.
StoreConnect does this by leveraging all the Account, Contact, Product and Pricebook information you already have in Salesforce and by giving you tools to manage and create content that is automatically published to the web via the StoreConnect servers.
Here’s a 3 minute demo jam video to show you briefly how it works;
So, time’s ticking, let’s get started!
Install the StoreConnect Managed Package from the App Exchange
First step is to install StoreConnect from the AppExchange. Go to our AppExchange Listing and click the “Get it Now” button.
As with all packages you install to Salesforce, best practice is to install into a Sandbox or a development edition org to get an understanding for how it works.
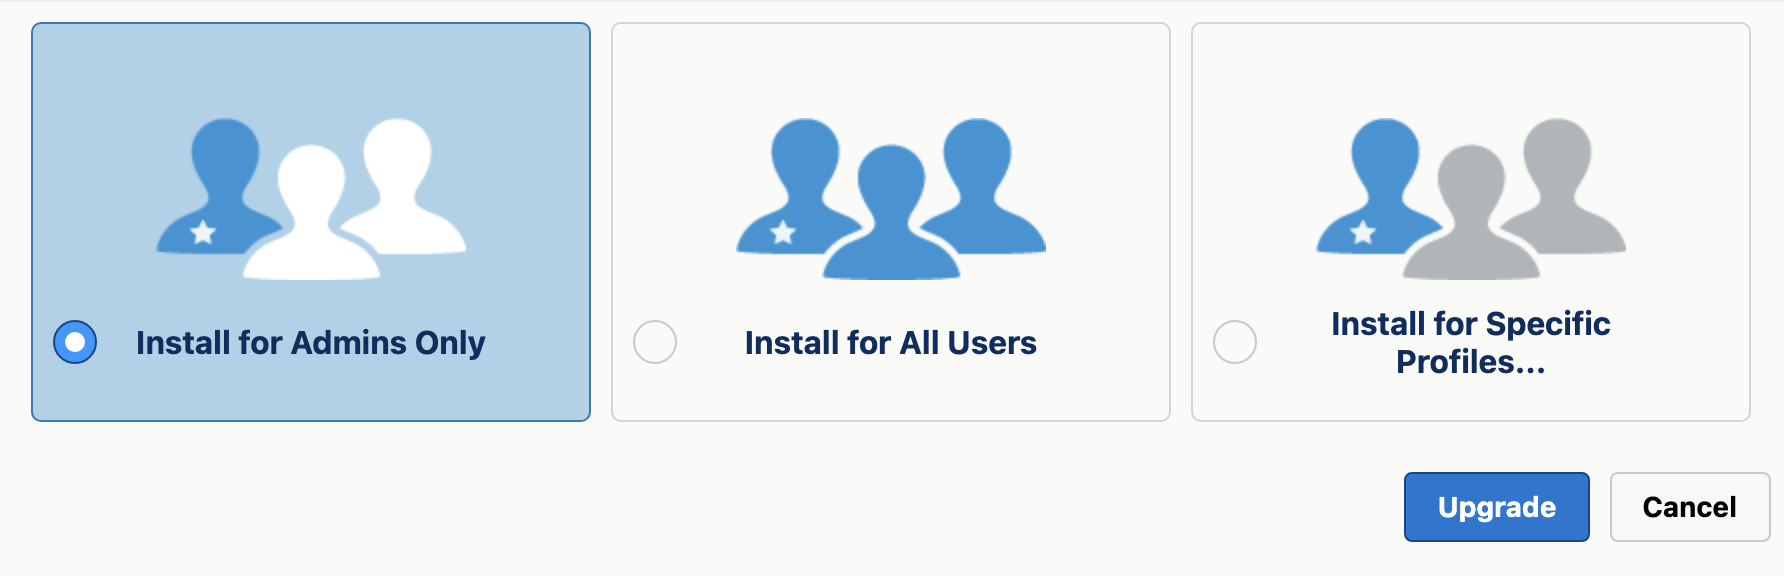
StoreConnect comes with out-of-the-box permission sets that you can assign to users building stores, handling orders, administering, and handling customer enquiries. Your best option is not to install for all users but admins only. You can then assign the out of the box permission sets, or your own custom ones, to users based on what you want them to be able to access.
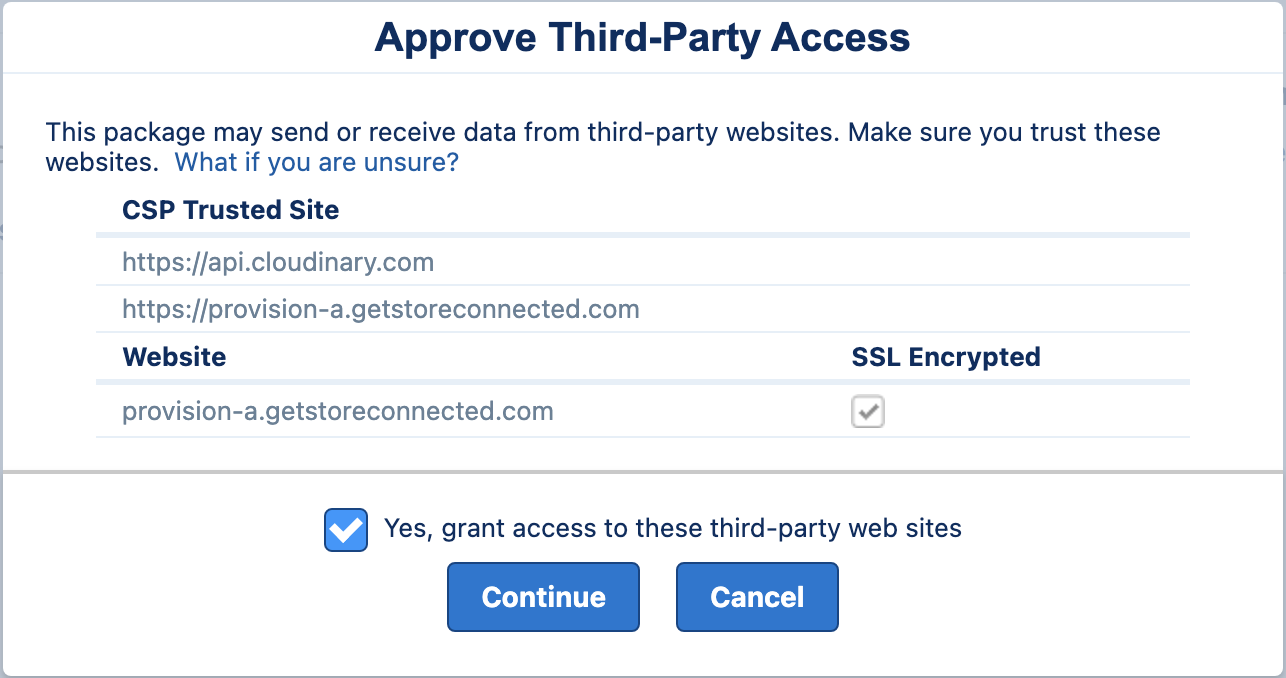
To serve your media quicker (and save you from hitting Salesforce data limits!) StoreConnect uses an external CDN (Content Delivery Network). It handles storage and delivery of your store’s media, such as product images, website banners, instructional videos or maybe downloadable PDFs for your Introductory Service. You will need to grant access to the CDN as well as our StoreConnect provisioning system that will allow us to create the connection between your brand new StoreConnect site and your Salesforce org..
Once you’ve installed the package, it’s time to configure your store using the setup wizard.
The wizard will ask you to upload a logo, so while you wait for a ‘success’ email to land in your inbox, get your hands on your logo. Something around 70px to 100px in height is good.
StoreConnect’s Setup Wizard
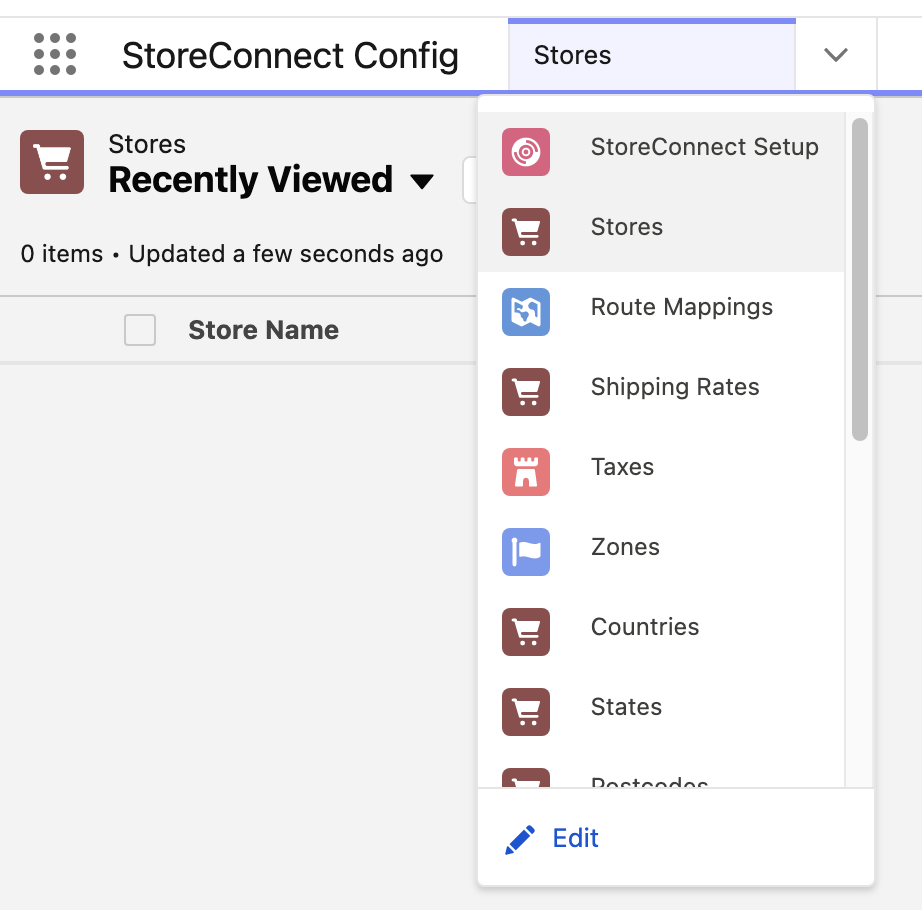
Once the StoreConnect package is installed in your org, System Admins will have access to a few new apps. Use the App Launcher to find the StoreConnect Config app.
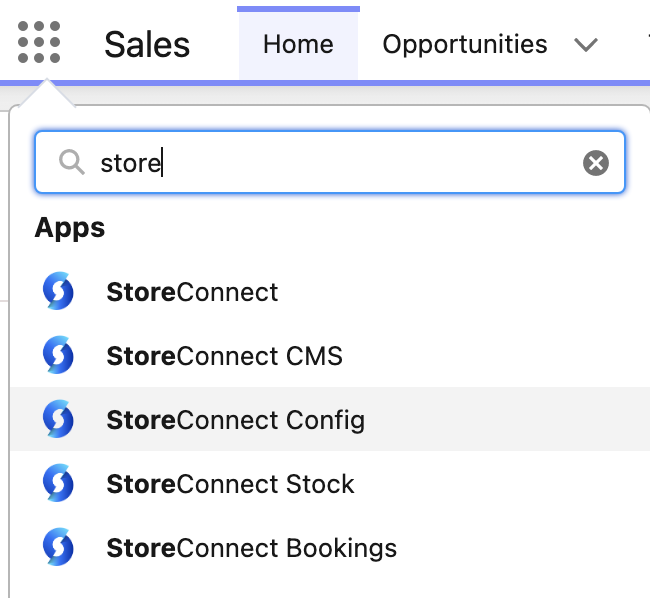
From there, you will see the StoreConnect Setup tab, a wizard that will handle some of the heavy-lifting and boot up your website and connect it to your org.
The wizard will take you through these steps:
Welcome
We are going to self-install so click ‘Let’s go, I got this…’ to get rolling.
Name Your Store
This is for your reference and is not shown to your store visitors.
Choose a Theme
To get you started, choose one of the out-of-the-box themes. You can always change it later, so don’t stress too much over the differences between each one, just go with the Clean theme for now.
Set your Stores ‘From’ Email Address
For a live store, it is essential to understand that you also configure this email address as an ‘Organization-Wide Address’ in Salesforce Setup. If you don’t add and verify it as an Org-wide address, customers will receive transactional emails from the email address of the Synchronisation user (which you choose in a later step).
Upload your Logo
Go to your corporate website and find your company logo. A horizontal or square one is best. Go ahead and upload this as a new media record, call it “Company Logo”. If you have speedily done the previous steps, you might have to wait a moment (2 to 3 minutes) while your dedicated site CDN is set up.
Create Reserved Products for System Use
StoreConnect uses the ‘Order’ object and ‘Order Products’ for each order line item. An ‘Order Product’ needs to be added to the order to include shipping in the orders total. So this product must exist in your Salesforce org and is automatically created for you. A product is likewise created for Promotions so when a promo code is used, discounts get applied to the order and come off the orders total.
Create your first Product Category
Choose a name for your first product category, in this case we are creating an introductory service, so let’s just call it “Introductory Services”.
Set your Branding Colours
Your branding colours are added to your store’s Custom Styling field as CSS where you can change them later on if needed. Just choose some colours that closely match the main colours of your logo. If you are unsure, you can just leave them as the default choices and change them later.
Assign your Logo to your Store
Select the logo you just uploaded by searching for “Company Logo” and selecting it.
Select the Default Price Book for your Store
Select the orgs standard price book, usually you just type “Standard” and then select it. If you can’t find the Standard Price Book in the search box, check that you have an active price book in your org, if not, you will need to activate or create one.
Do List Prices Include Tax?
Adding tax to the list price at checkout requires Zones and Taxes to be configured. For your demonstration to the team, you can skip this so just set this checkbox to true for now.
Select the Currency for your Store
Use the currency’s 3-character ISO code. ie. USD or EUR, etc.
Choose a Salesforce User to act as the Synchronisation User As a System Admin, use your own credentials for the trial, once you are going live, best practice for all managed packages is to have an integration user, but you can always come back and change this later.
Setting up your Page Layouts
If you are working in a sandbox Developer org or a Trailhead Playground, you could assign the StoreConnect page layouts to your profile, giving you all the required fields and related lists.
- From the Products tab, click on the cog wheel and select Edit Object
- Select the Page Layout section from the left column
- Click on the upper right Page Layout Assignment button
- Click on the Edit Assignment button
- Select at least your profile
- Change the assignment to the StorerConnect Product Layout
Do the same for the Orders object using the StoreConnect Order Layout.
If you need to maintain using your current page Layouts, that is fine. You just need to add to them the StoreConnect fields and related lists you will be using.
For your Products page layout, make sure these fields are on your layout at least:
- Display Name
- Active
- Is Master
- Available On
- Slug
- Media Upload
- Summary
Make sure you have these Related Lists:
- Price Book
- Categories containing this product
- Media used by this product
For your Orders page layout, add these fields to your layout:
- Store ID
- Customer Notes
- Abandoned
- Checkout Step
- All of the Contact fields
- All of the Checkout fields
Make sure you have these Related Lists:
- Order Product
- Payments
Add a Payment Option to your Store
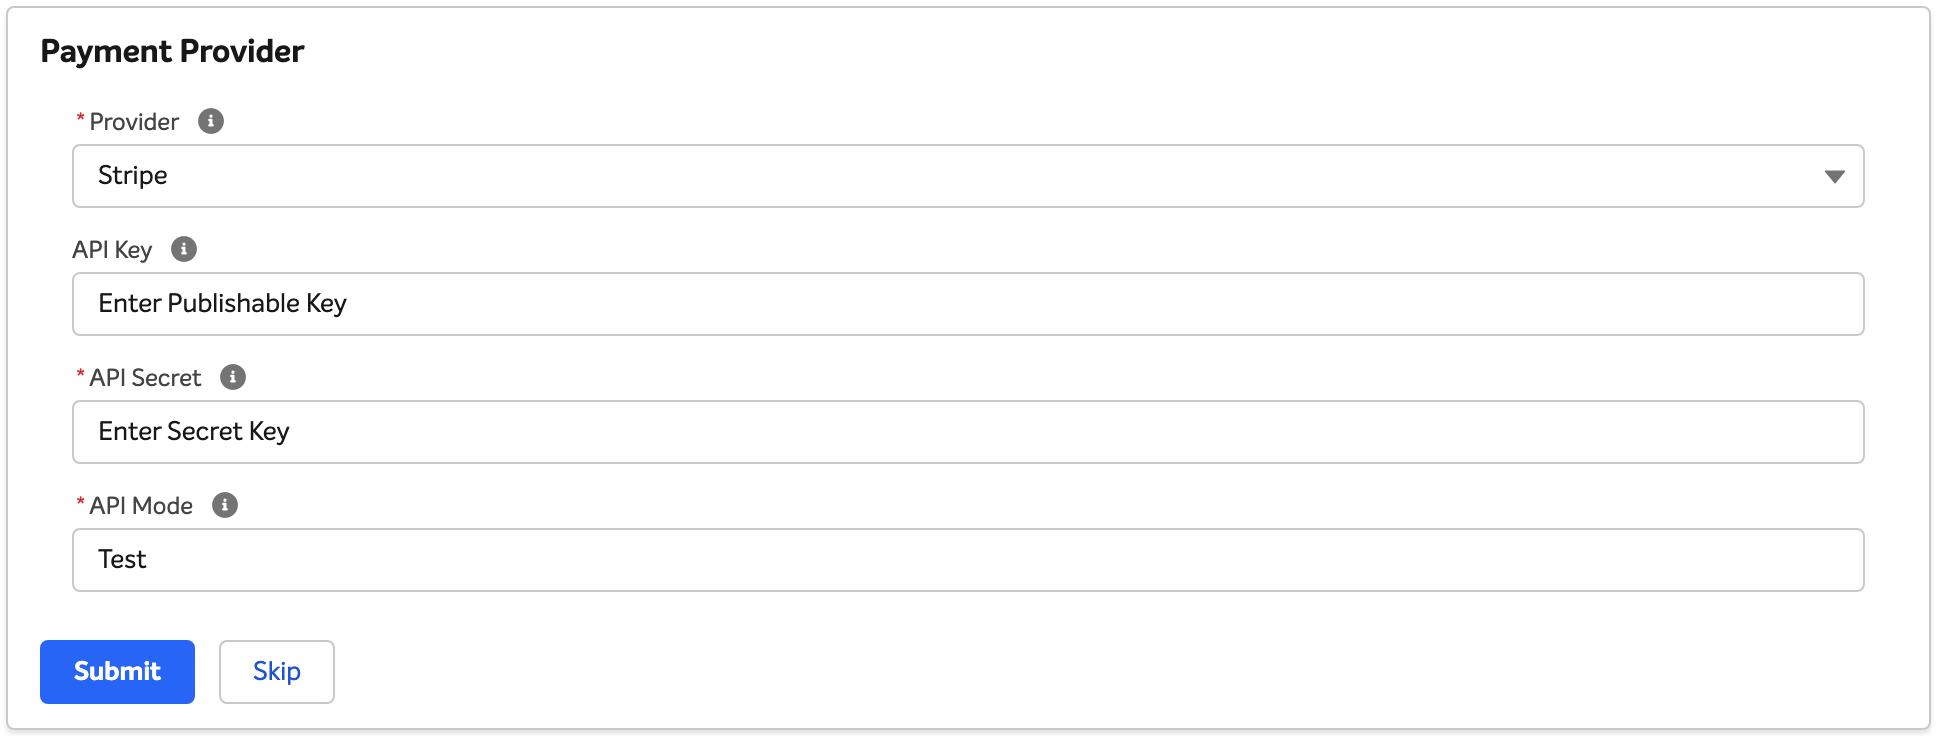
To complete a checkout, your customers will need a way to pay for their order. There are a number of supported payment providers to accept credit card payments. If you have an account already, use the test credentials they have supplied you. Otherwise go to Stripe’s website and create an account. When you first sign up for Stripe, you may get asked to activate payments. Activating payments will take you through the steps needed to give you a live payment gateway that receives real payments. You can skip this for now if you want and go straight to your dashboard where you will be able to access your test credentials.
In the StoreConnect wizard’s Payment Gateway step, select Stripe, enter your Stripe credentials and set mode to “Test”
Creating your Health Check Product
The installer offers you the opportunity to get one of your products live on the store to get you started. Search your org for the Health Check Service to see if it already exists as a record in the Products object. If it does, you can use that product but will need to follow along to get all the checks passing and have your service display in your store.
Create the Product
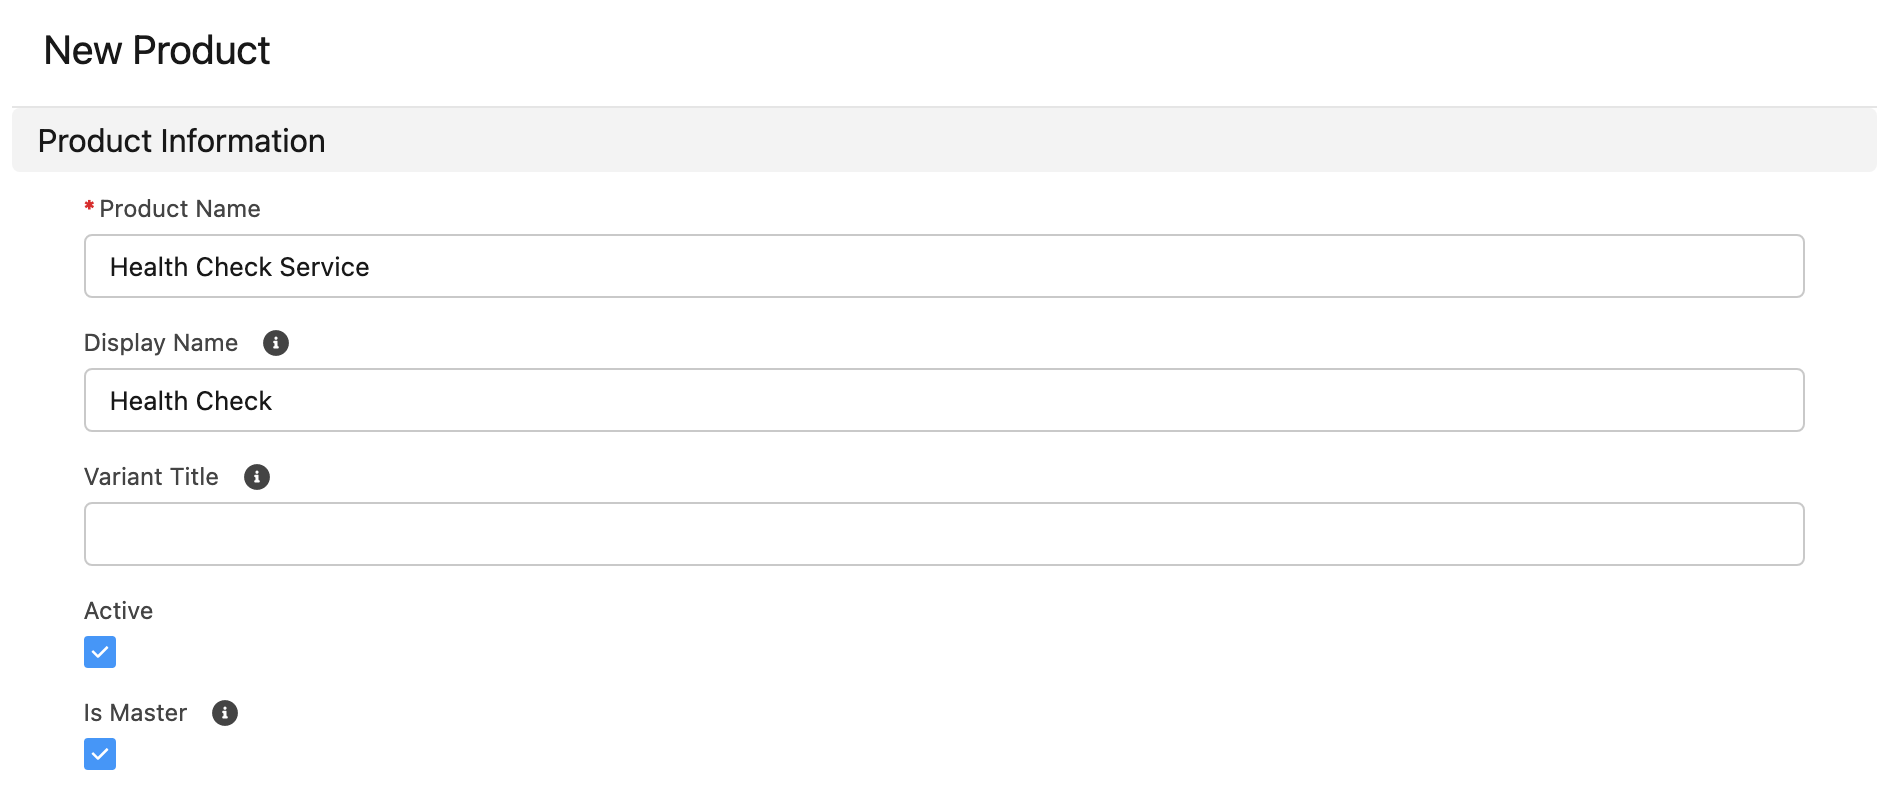
If your service is not yet in Salesforce, create it. (If you do have a product, open the product record and press edit.)
- From the Products tab, click ‘New’ (if creating a new one)
- Populate these fields
- Product Name = Health Check Service
- Display Name = Health Check
- Active = True
- Is Mater = True
- Available On = Yesterday’s date
- Save the record
Add a Price
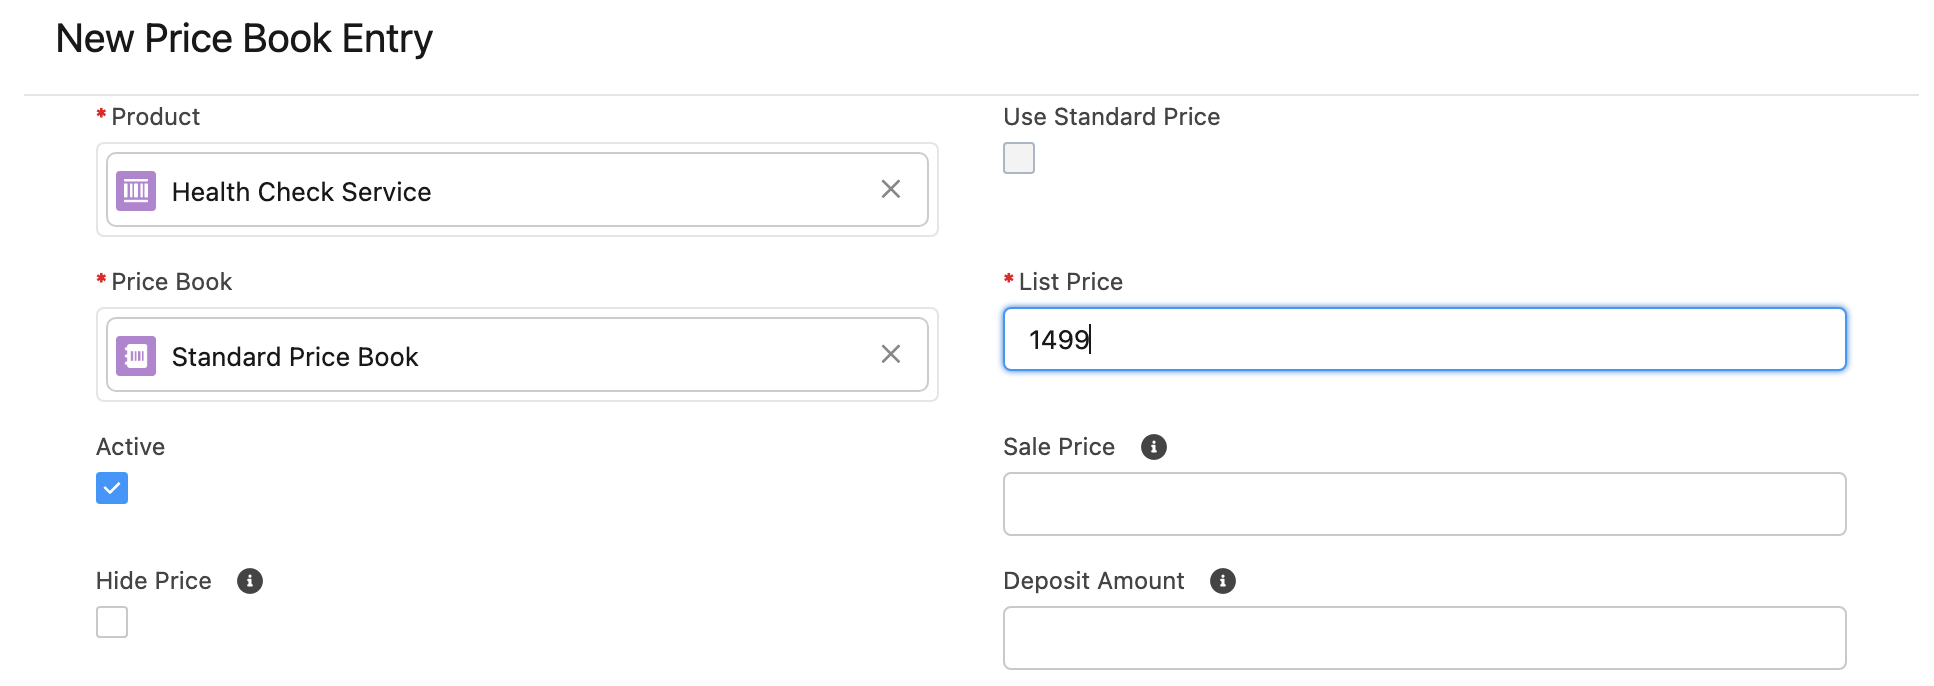
From the products Related List, add a price book entry for the orgs standard price book.
- From the Price Book related list, click ‘Add Standard Price’
- Set the List price for your Health Check service
- Save the record
Add your Product to a Product Category
Find the Categories Containing This Product related list and click ‘New’. 1. Select your Introductory Services product category 2. Save the record

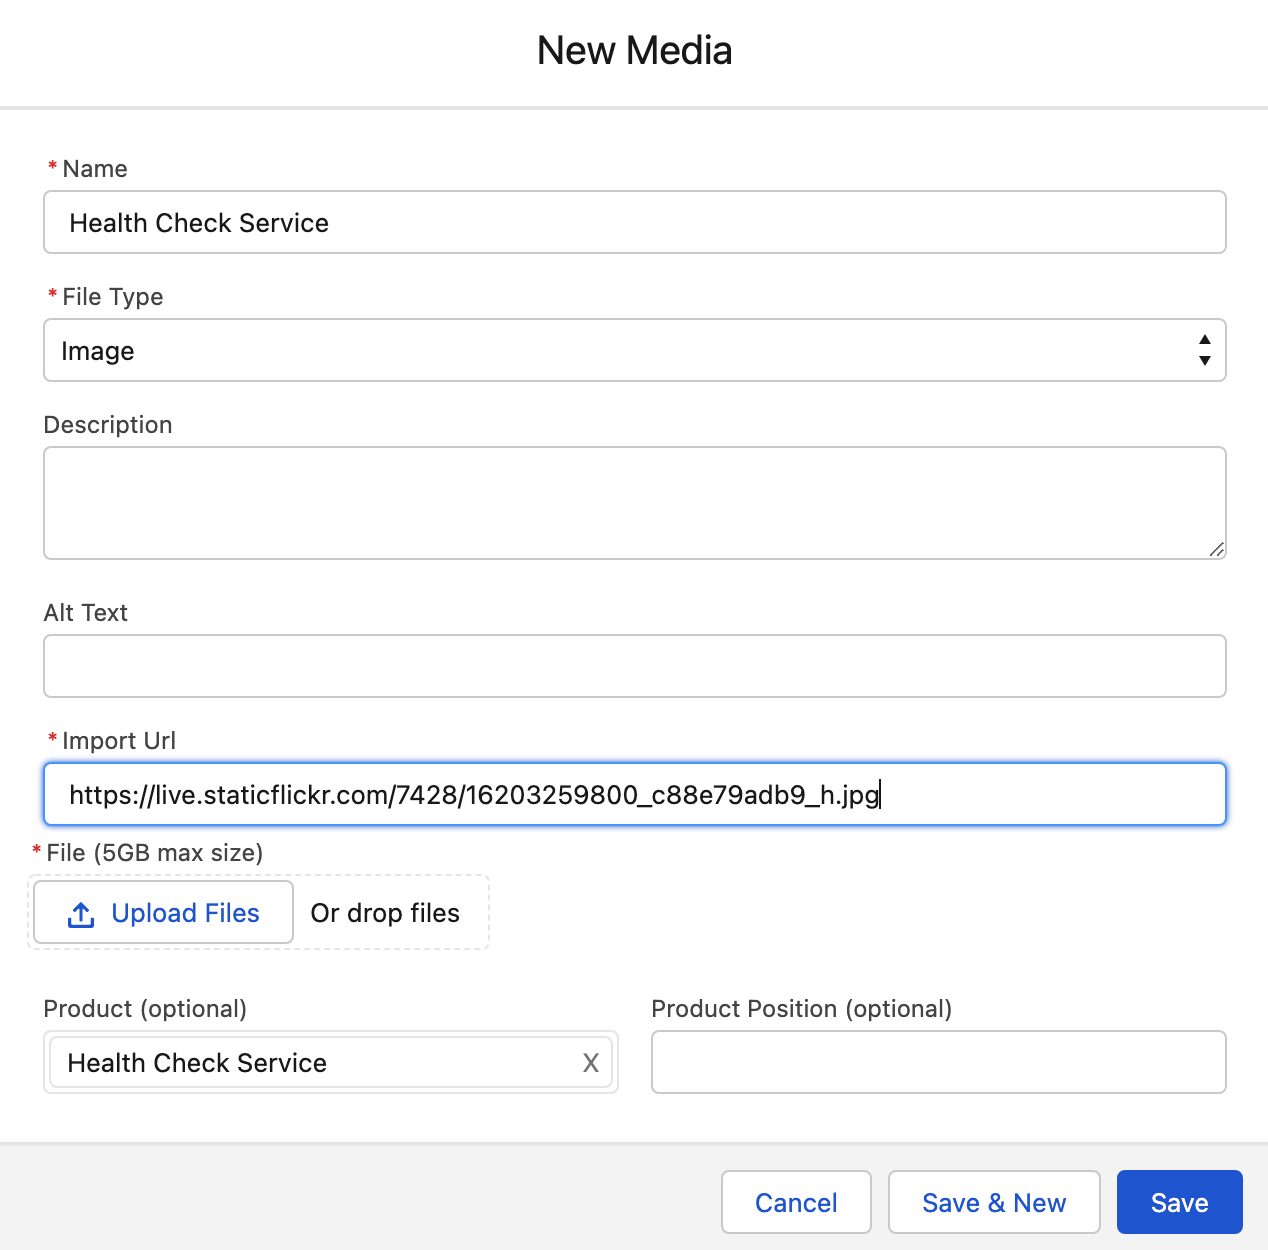
Add an Image to your Product
From your products Details page, find the Media Upload link and click it, then populate these fields:
- Name = Health Check Services
- Type = Image
- Alt Text = Health Check Service Image
- Import URL = https://live.staticflickr.com/7428/16203259800_c88e79adb9_h.jpg
Now save the record. Of course, if you have another image you want to use, you can either specify a different import URL or drag and drop it into the Upload File box.
“Secure Data - Cyber Security” Image courtesy of Blue Coat Photos
If you look at your new media record, you will notice the URL field is empty. This will populate automatically within 10 minutes, once the image has been uploaded to the CDN.
Complete the Wizard and Test your Store
Go back to the StoreConnect Setup wizard in the StoreConnect Config app and click ‘Check’. You should be able to see all items passing and should look like:
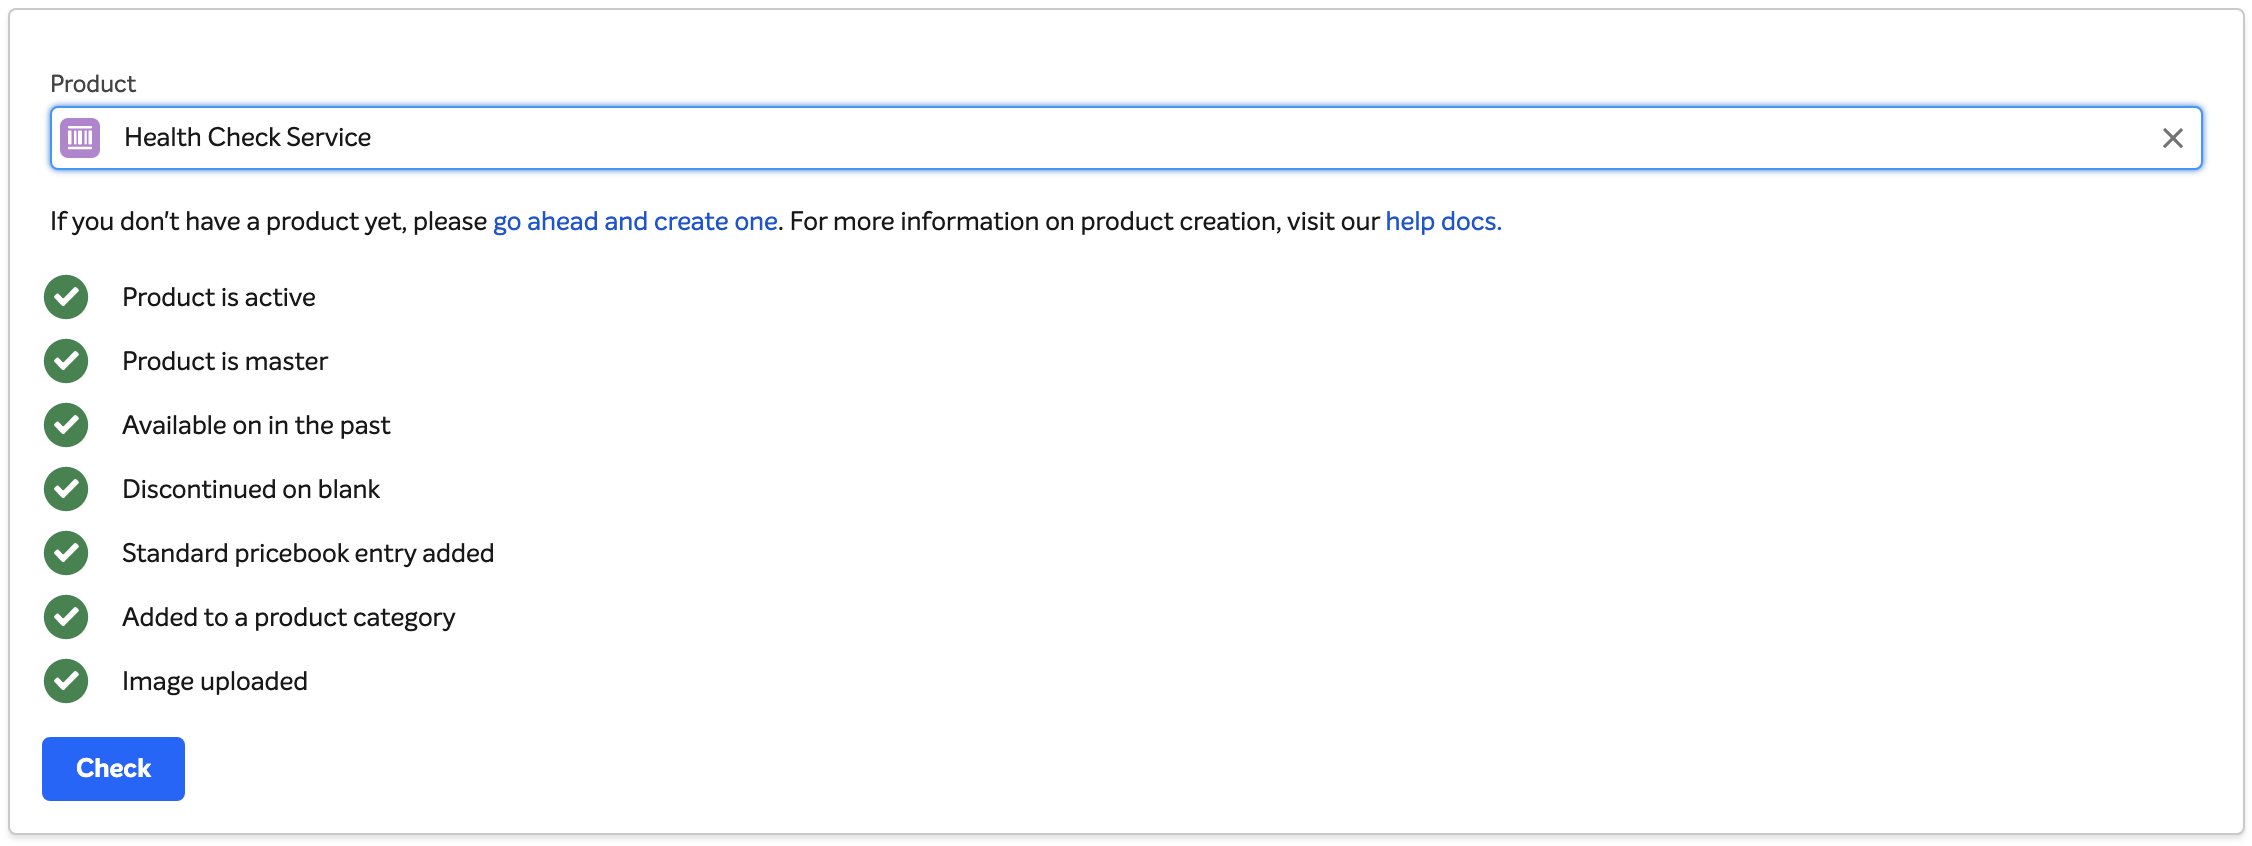
If not, go back and check over your products configuration until you have all green ticks.
At completion of the wizard, you will be given a temporary domain (which can also be found on your Store record). While the site is building you will see an under construction banner while the site is being created, but once the store is live you can visit it, you will get a blank page with your company logo and should be able to see your product category “Introductory Services” in the menu of your site, it should look something like this.
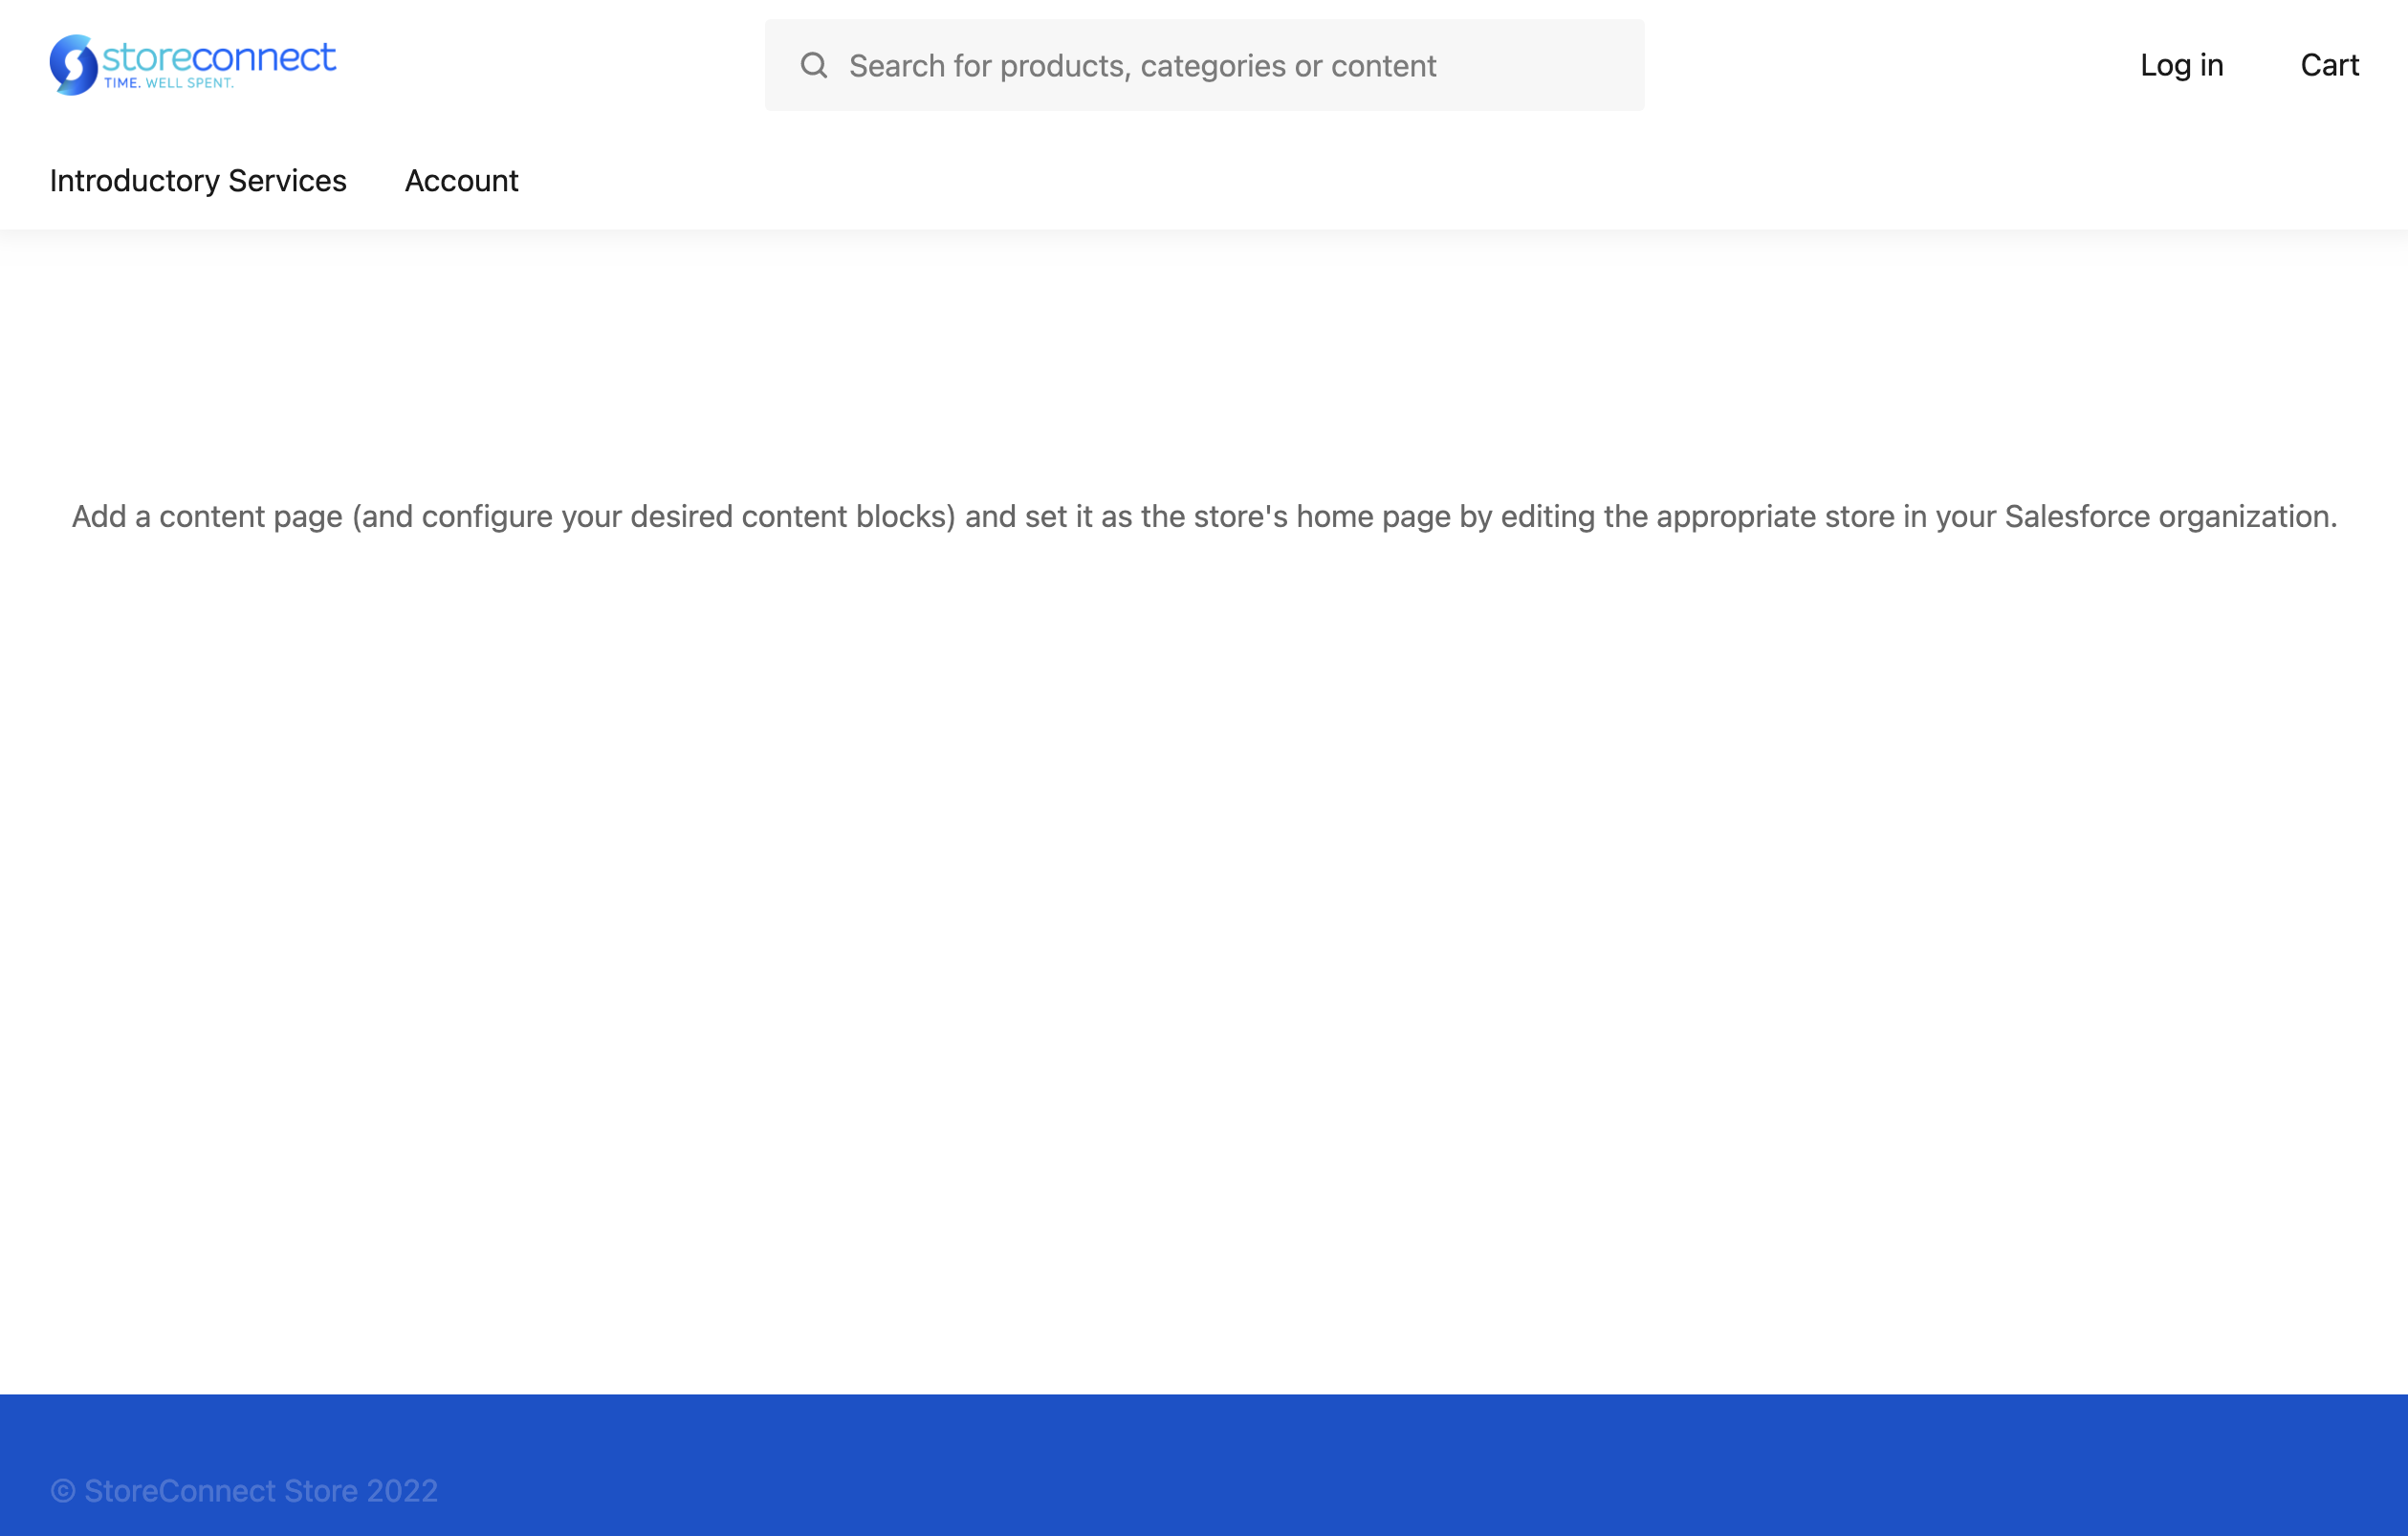
Click on the Introductory Services and you should see your Health Check service:

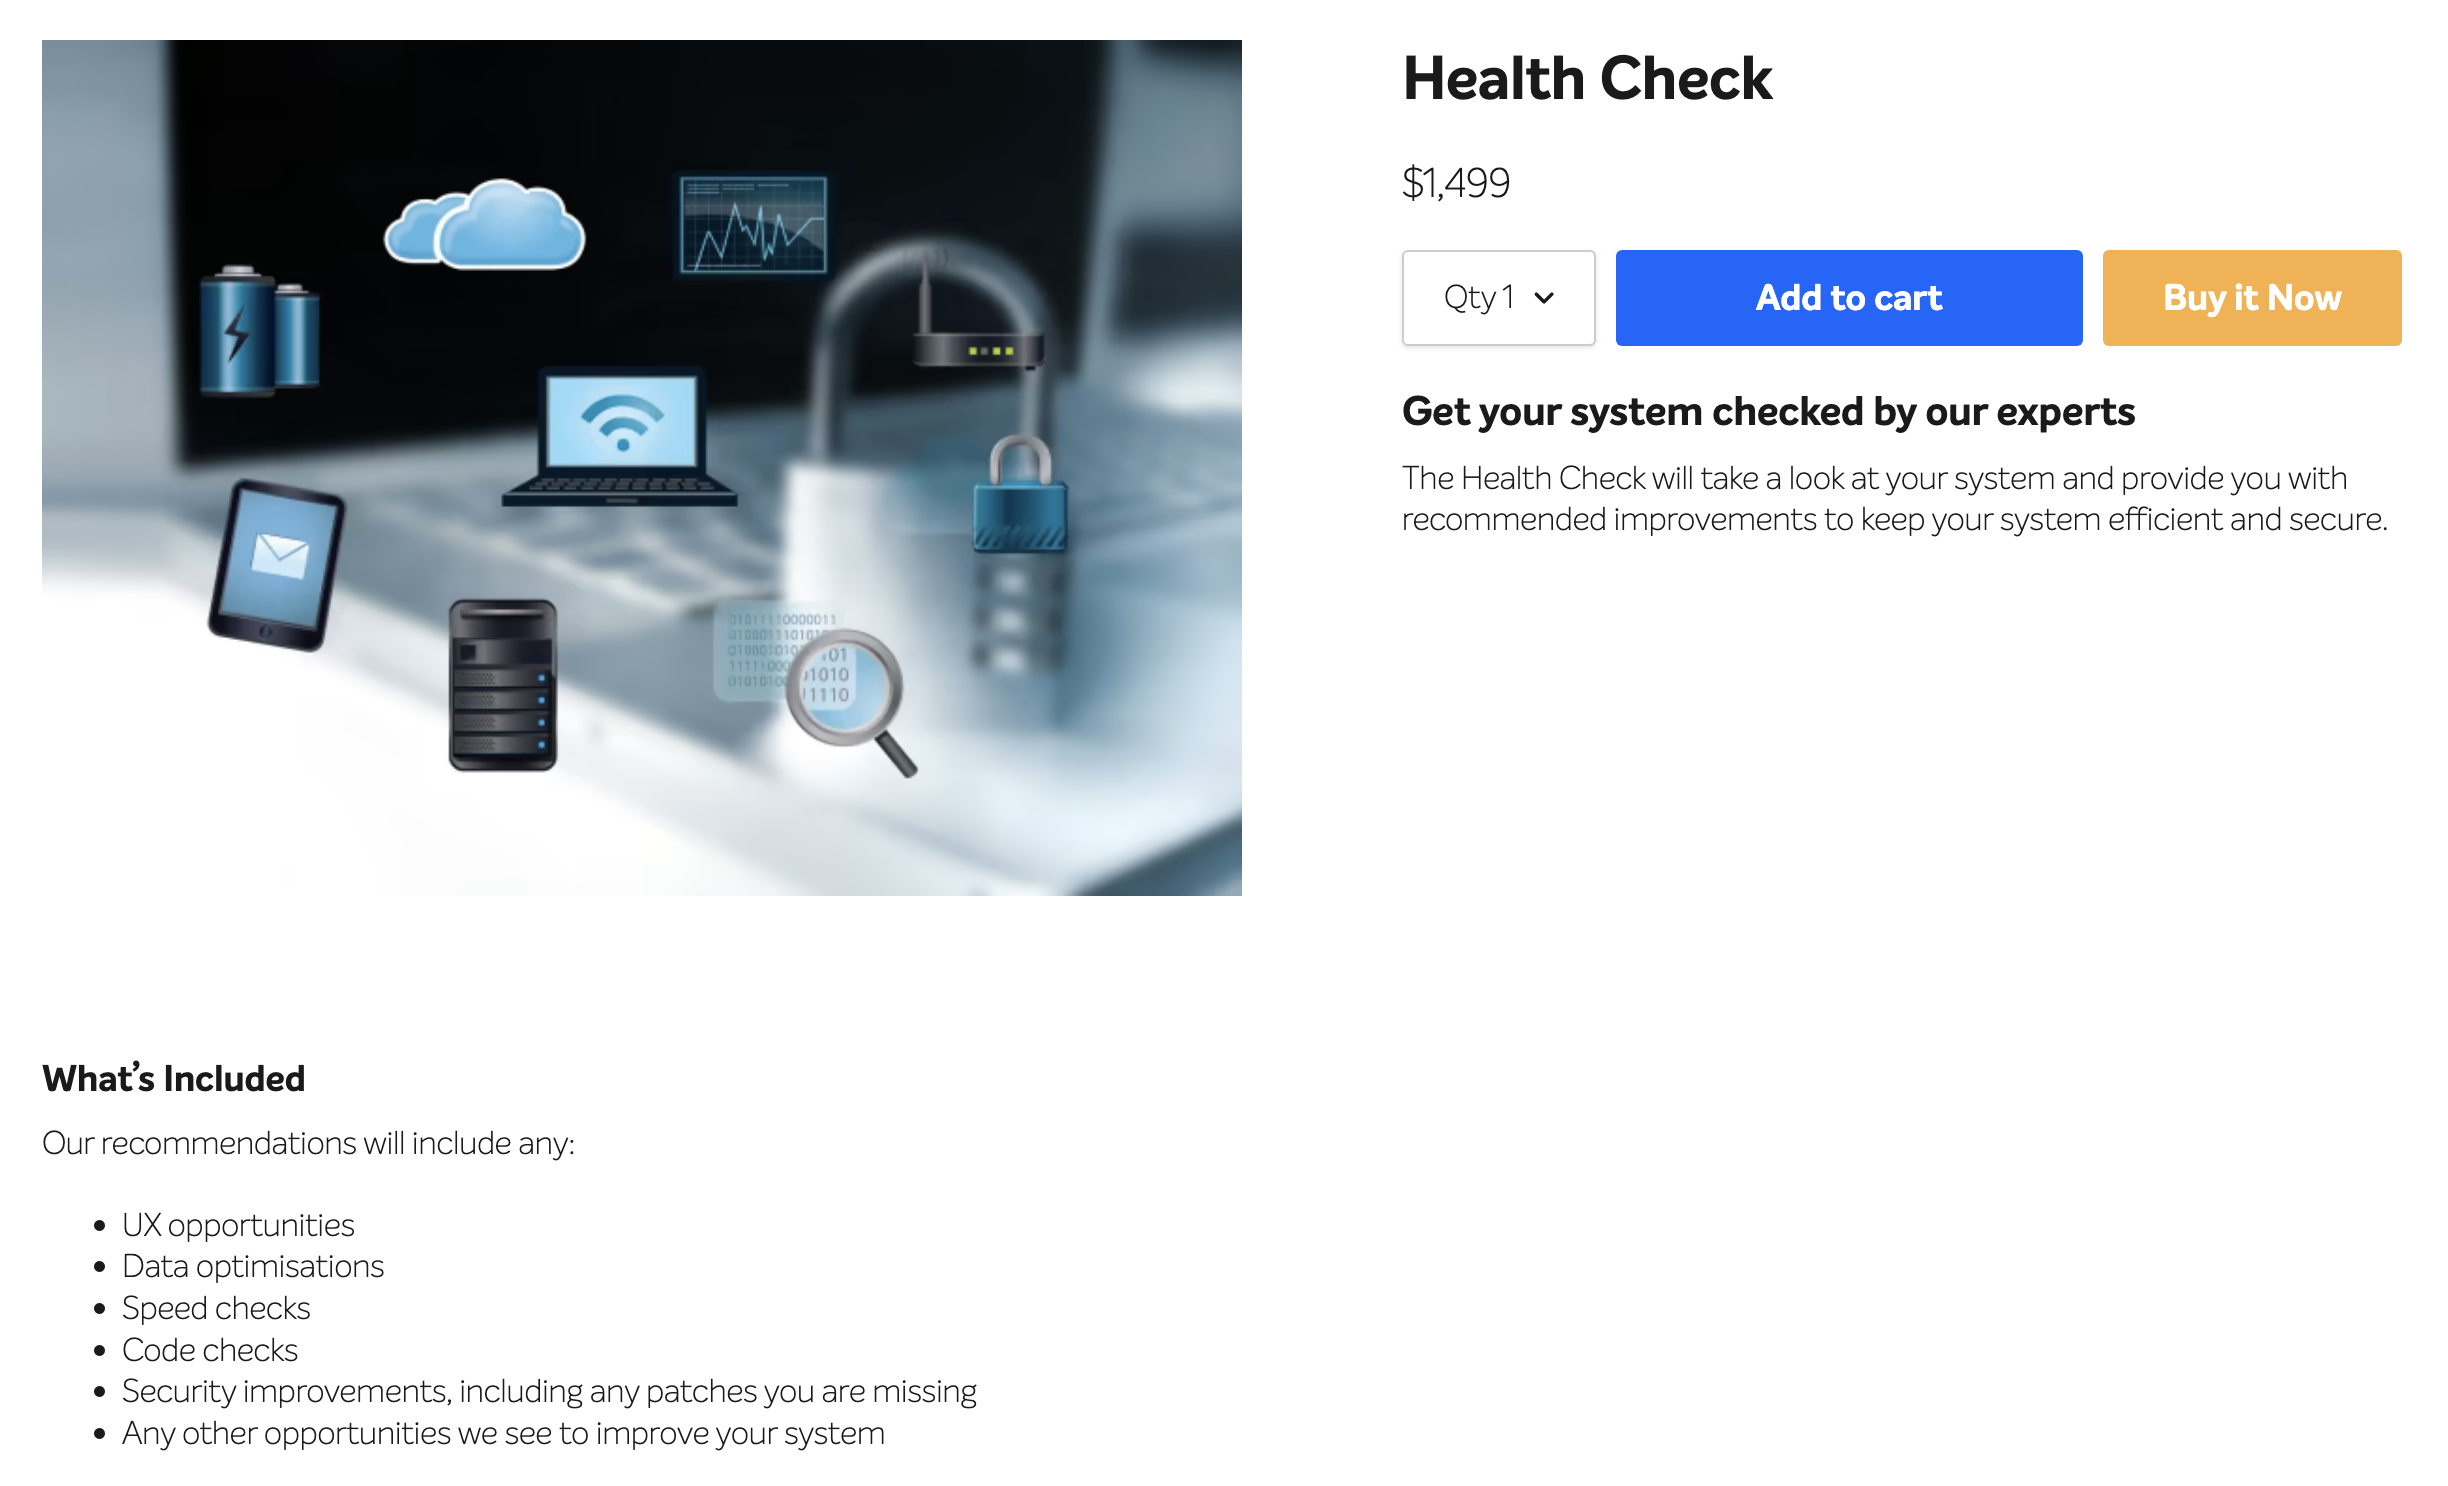
Go ahead and click on the Health Check Service and you will be able to see the image, the price and if you click “Buy it Now” you should be able to complete your checkout. If you used a Stripe test credit card account, use this test credit card:
Name: Your Name
Number: 4242 4242 4242 4242
Expiry: Any date in the future within 3 years
CVC: 123
Go ahead and complete a checkout. Once done you will see your order number. Very soon after, you will be able to see your order appear in the Orders tab of Salesforce or you can just search for it in the Search bar using your orders reference number.
Make your Product even better
Let’s add a little more content to your product to make it more informative and enticing to your clients. We are going to use Markdown for easy formatting of our text.
Edit your Health Check Service product and add the following text to your Summary field:
### Get your system checked by our experts

The Health Check will take a look at your system and provide you with
recommended improvements to keep your system efficient and secure.
Replace the text in your Features Markdown field with:
Our recommendations will include any:

- UX opportunities
- Data optimisations
- Speed checks
- Code checks
- Security improvements, including any patches you are missing
- Any other opportunities we see to improve your system
We want to relabel the Features section so:
- Find the store’s record by searching for Stores in the App Launcher
- Scroll to the bottom of the page layout and find the Product Tabs section
- Change “Features” to “What’s Included”
Check out your Health Check product page to see your formatted text. It can take a minute for your changes to sync over to the website. It should look something like this:
You may have noticed your site is missing a homepage. This will detract from your demonstration for sure but being a one-product website, why not use your existing website and link to your product, removing the need for another homepage.
Create a Custom Menu
Firstly, let’s customise your menu so you have links to your existing website plus our Health Check product. To do this, we are going to build a new menu to replace the default menu.
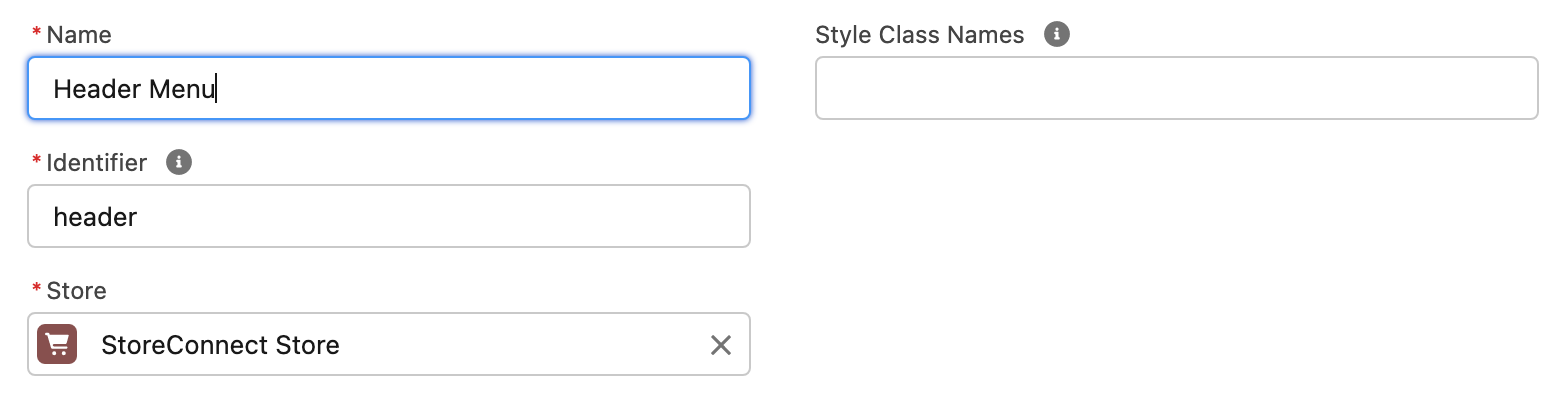
- Find and open the Menus tab from the App Launcher
- Click ‘New’
- Call you Menu “Header Menu”
- Give it an Identifier of “header”
- Save the record
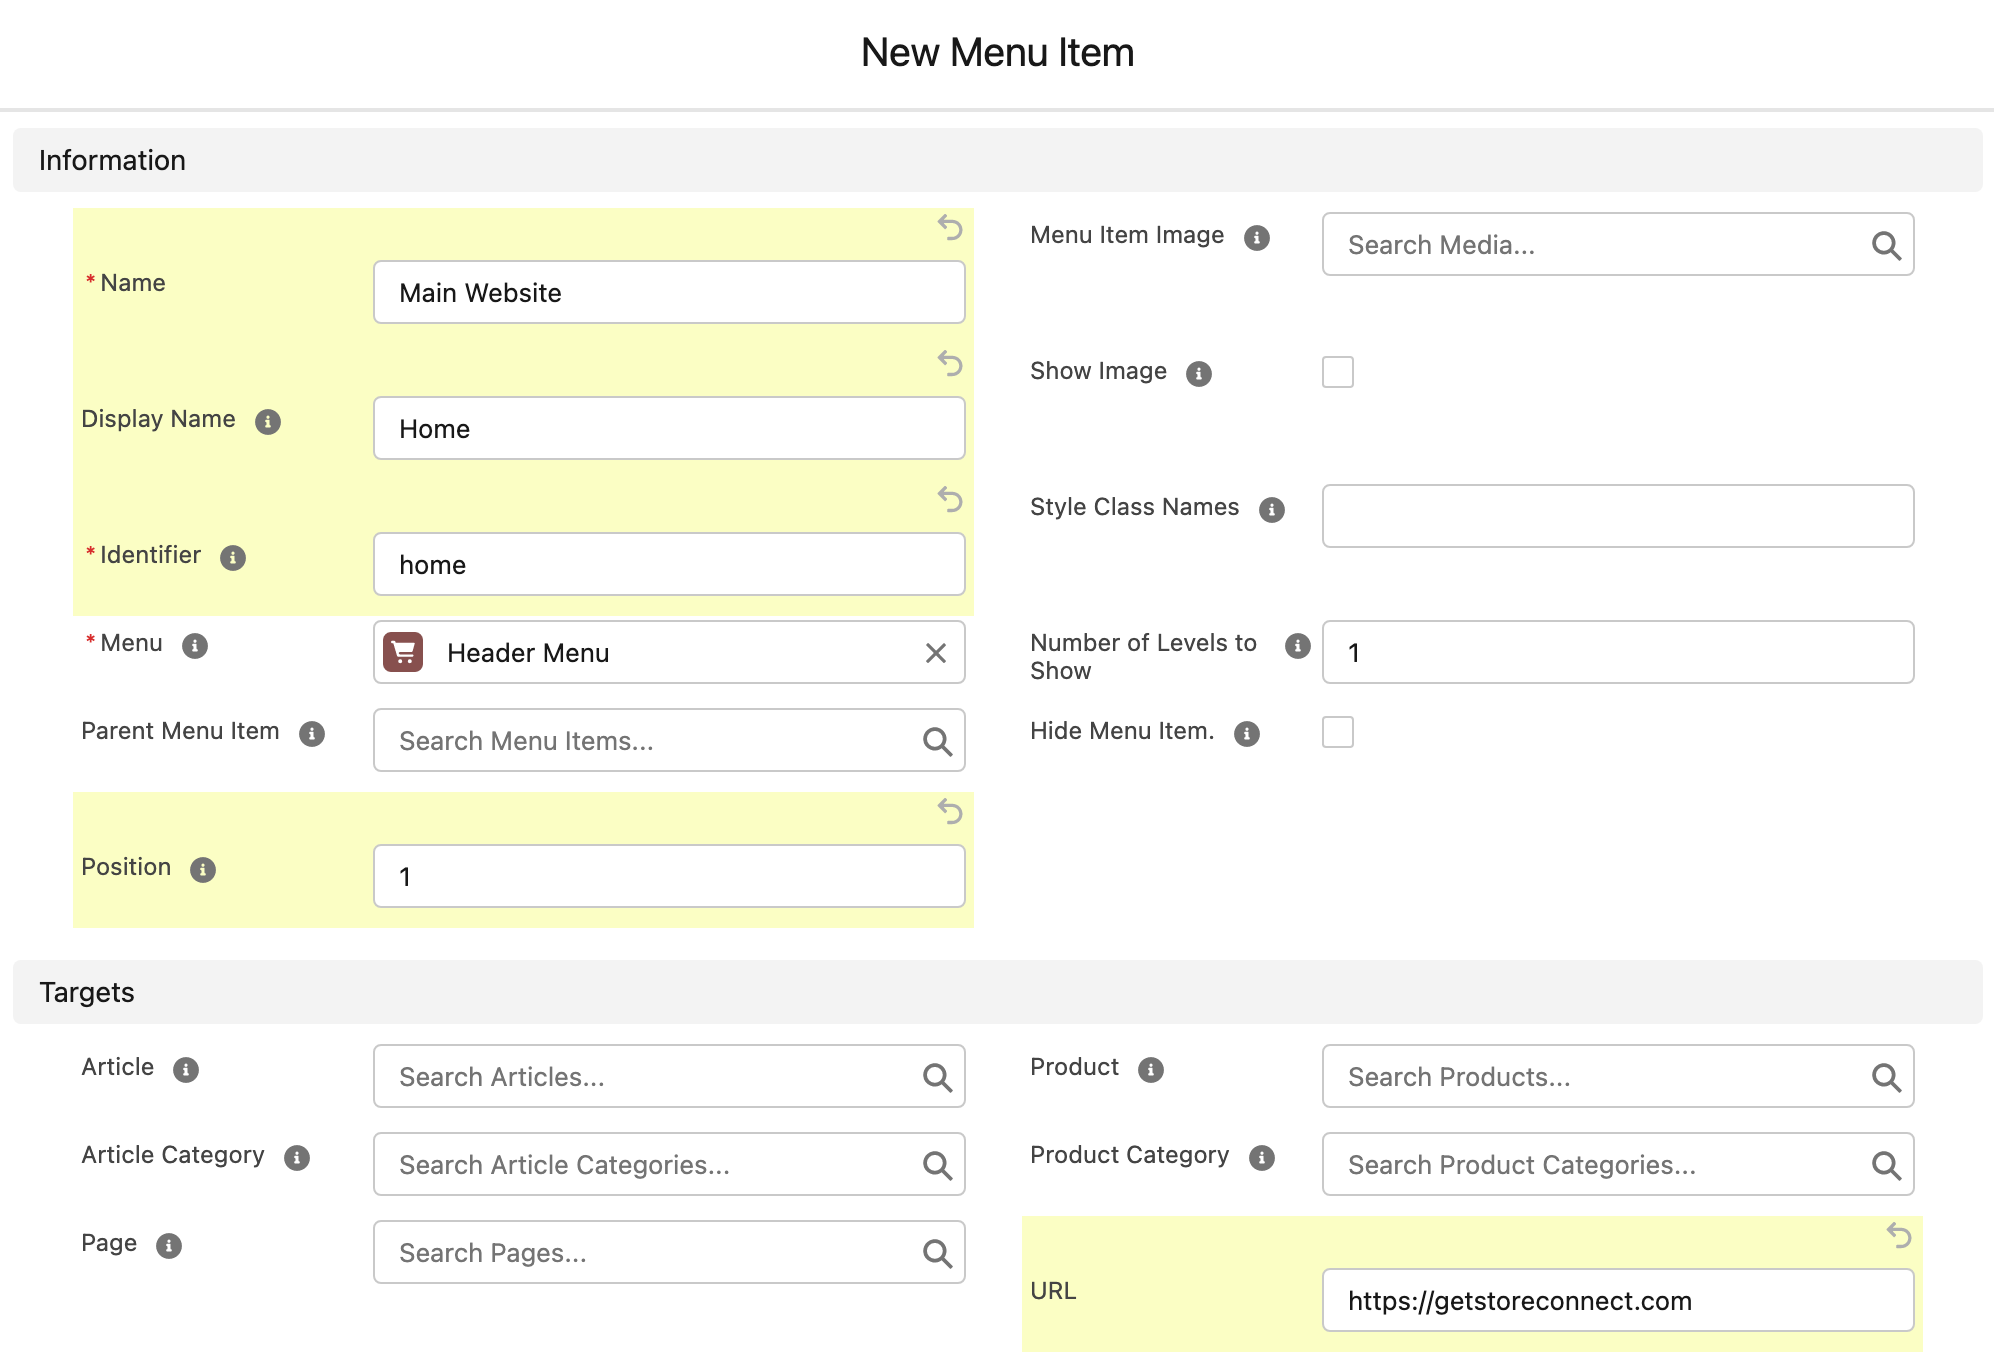
Now let’s add some items to your menu.
- Go to the Menu Item Related List
- Click ‘New’
- Name your menu item “Main Website”
- Give a display name of “ Home”
- Give an Identifier of “home”
- Set the Position to “1”
- Add your websites URL to the URL field
- Click Save & New to create another Menu Item
For the next Menu Item:
- Name your menu item “Health Check Service”
- Give a display name of “ Health Check”
- Give an Identifier of “health-check”
- Set the Position to “2”
- Point the Product Lookup to your Health Check product
- Save your record
To get your new menu to replace the default, go to the Store record and in the CMS section, point the Header Menu lookup to your new menu.
Give Customers a way to Find and Buy your Service
Now we need to get traffic to your product from your existing website. There are a few ways to do this. One way is to simply add a link directly to the product page. To find the product link, you can navigate to it via your menu and copy it from your browser’s address bar. You can customise the path by editing the Slug field on the product record. Your products path will be {your-domain}/products/{slug}
Another way is to make use of the Buy Button feature. This is a link that when clicked, adds your product to the cart automatically and can even take your customer directly to the checkout making their purchase a breeze.
This is the URL you would use for your buy button or link, of course making sure you use your stores domain and products slug.
{your-domain}/cart/{slug}:1
For example, if your domain was s-my-store-001234123412abcd.herokuapp.com, and your product slug is health-check-service, your buy it now URL would be:
https://s-my-store-001234123412abcd.herokuapp.com/cart/health-check-service:1
You can splash this URL around wherever you like, including marketing emails. Add a UTM tracking code to each usage of your buy button URL so you can track what link led to each sale.
Redirect the store’s Homepage to your service
Now that you have a store running, you’ll notice that if you go to the home page, you just get a blank page, this is not ideal as customers might end up there and not be sure on what to do. As you are only selling one service on this site what we’ll do is redirect the homepage to the product page.
StoreConnect includes a powerful redirect solution for redirecting various pages on your site, but by design this does not work with the home page because the home page should load as fast as possible.
So in order to do this we need to create a HEAD content block for the store that uses some liquid to show the redirect code when we are on the home page as well as a Page record for the store’s homepage that includes backup redirect code. While we are doing this we are also introducing you to StoreConnects ability to use the liquid templating language.
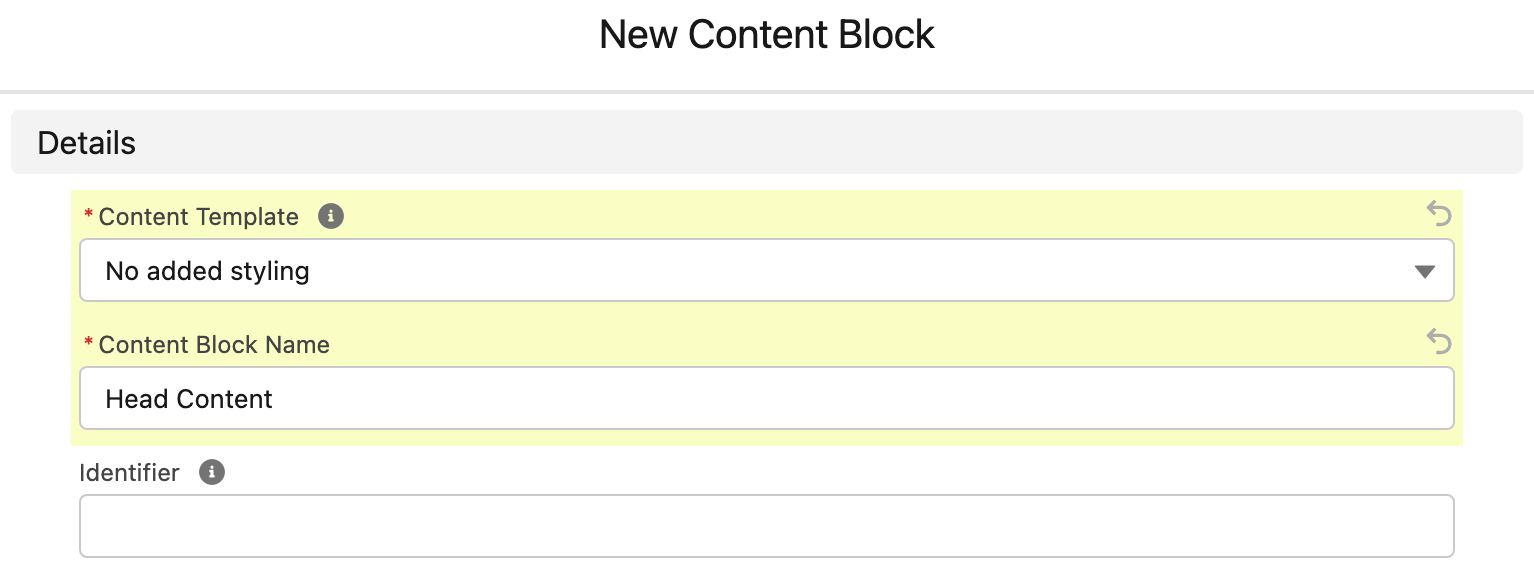
- From the StoreConnect CMS app, open the Content Blocks tab
- Create a new content block
- Choose the ‘No added styling’ template
- Give a name of “Header Content”
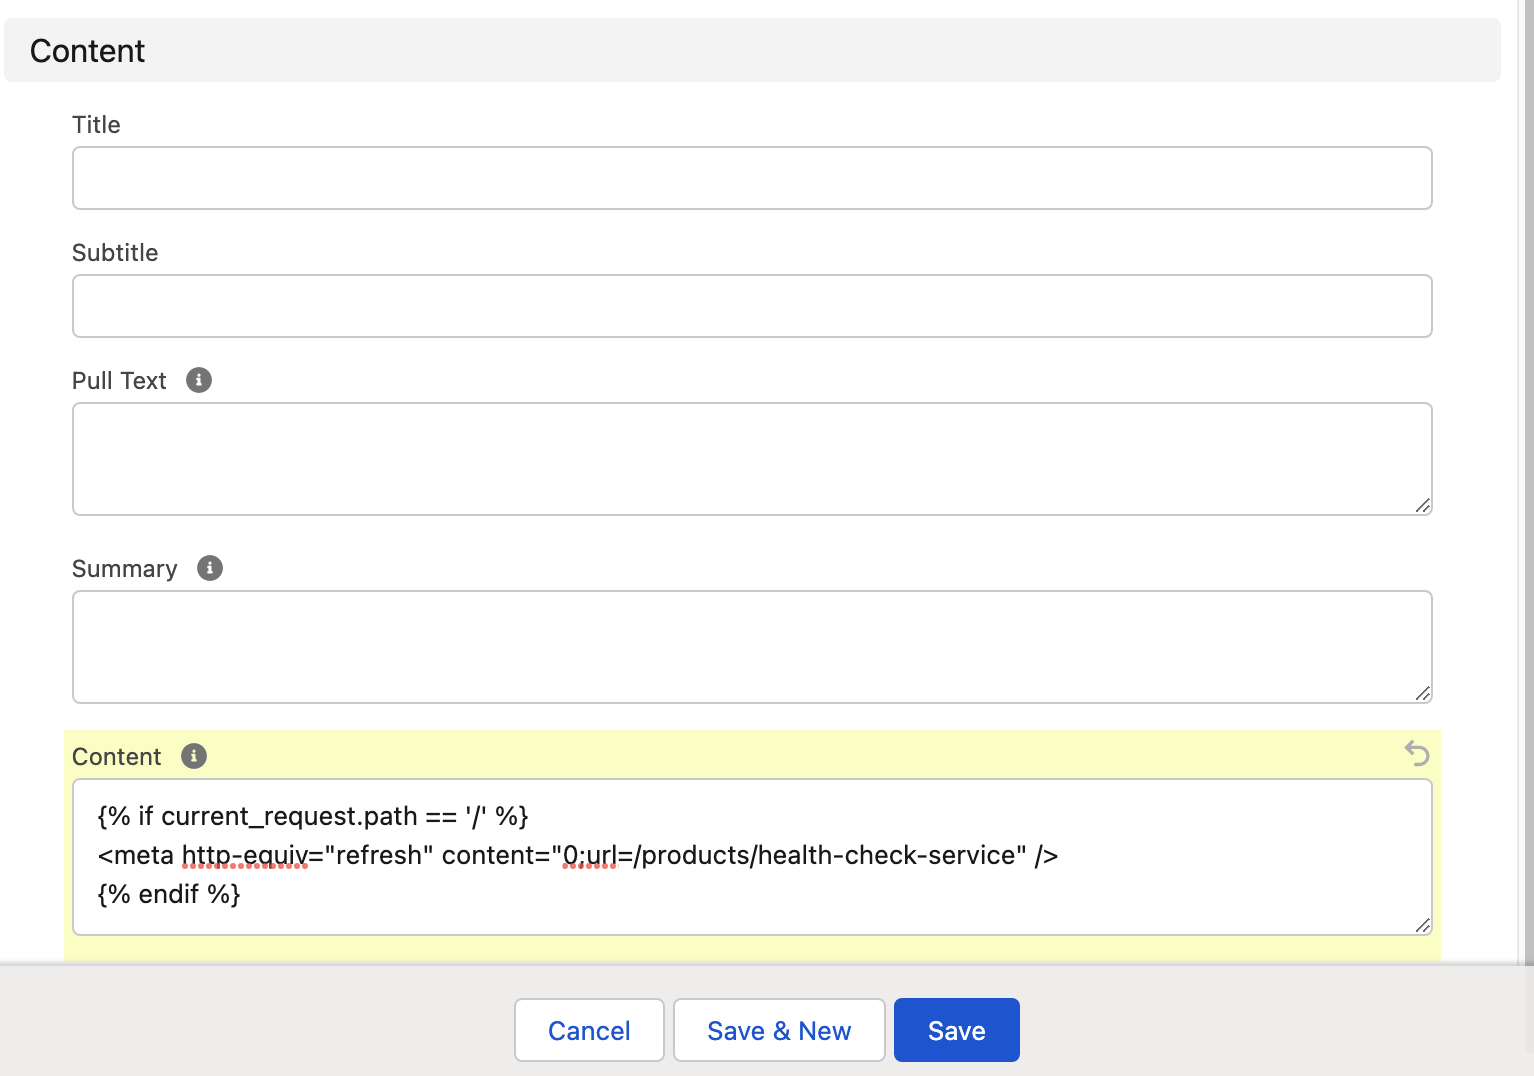
- Add the following Liquid code to the Content field and then save
{% if current_request.path == '/' %}
<meta http-equiv="refresh" content="0;url=/products/health-check-service" />
{% endif %}
You can also add any google analytics code in this content block.
In case a customer still manages to find themselves on your homepage, let’s create a basic page that has a link to direct them back to where they should be.
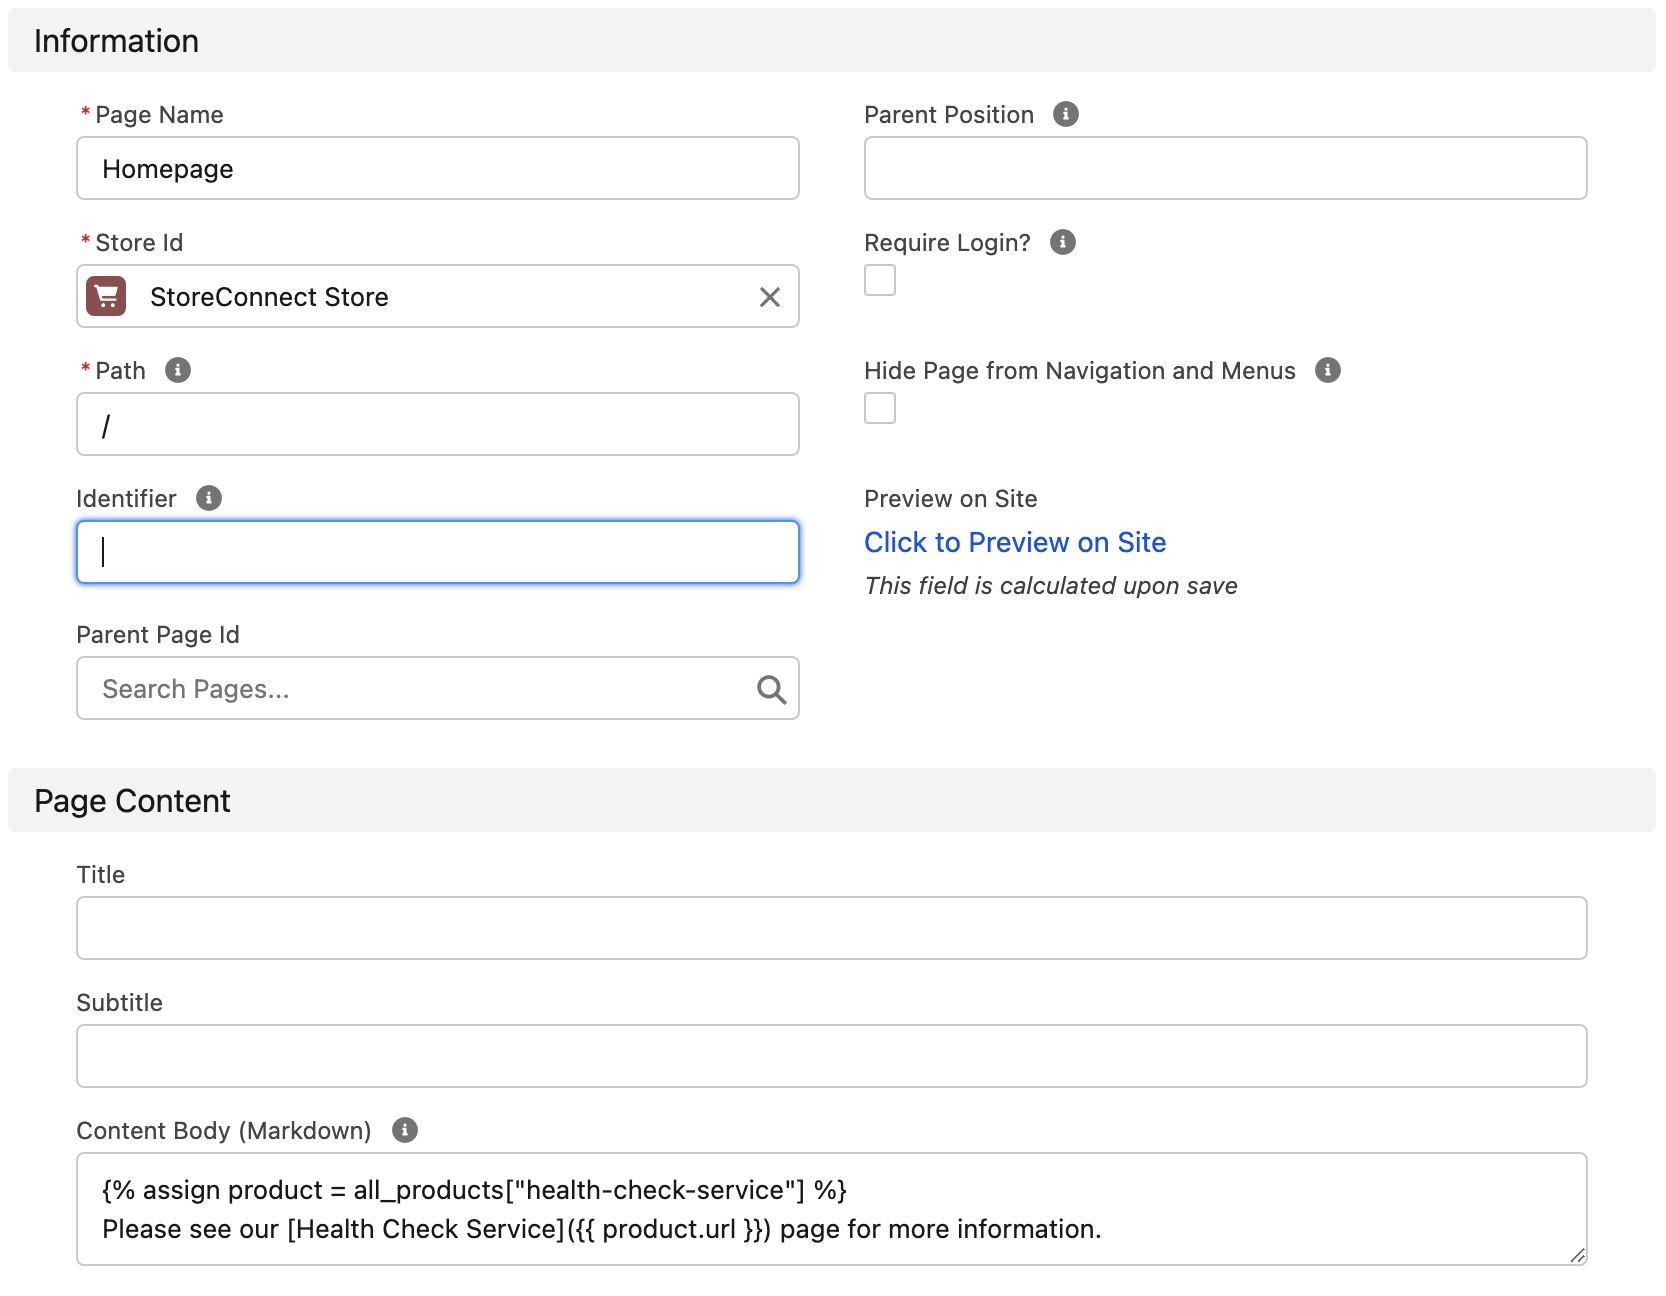
- From the StoreConnect CMS app, open the Pages tab
- Create a new page
- Give a name of “Homepage”
- Select your store as the store it belongs to
- Give it a Path of “/”
- Add the following Liquid code to the Content Body (Markdown) field and then save
{% assign product = all_products["health-check-service"] %}
Please see our [Health Check Service]({{ product.url }}) page for more information.
Now tell your store to use your Head content block and Homepage.
- From the StoreConnect Config app, open the Stores tab
- Find your store record and edit it
- Set Homepage to the page you just created
- Set Head Content to the content block you just created
- Save the record
Now when you visit the homepage of your site, instead of showing a blank page, it will redirect the customer directly to the product page and let them purchase their product.
Bask in the Glory of your new site
So, now you should have an operational eCommerce solution running out of your Salesforce org. Not bad for an afternoon’s work!
Given that you have 14 days to trial the app, have a play to see what other opportunities StoreConnect can provide to promote and sell your products and services. To get your store live, on your own domain and able to accept real payments, get your hands on a Small StoreConnect Licence. ← Try out my Buy Link :)